Make Your Own Axe Wax – 3 Easy Recipes
This is just a hobby, but if you buy through a link I may get a commission that supports the site. Thanks!
Axe wax is made by mixing penetrating wood oil with hardening wax. Often it is made with linseed oil and beeswax, but depending on the recipe can have other oils, waxes, and additives like turpentine. Making axe wax costs around 1/10th the cost of store-bought and can be made food-safe or not.
Axe wax has become a very popular way to finish your axe. It will protect the head and handle from moisture and give an axe a wonderful tactile feel in hand. Some can even be used to moisturize and waterproof your sheath too.
But if you need a lot, it can be expensive at around $20 for a 2oz can. It is well worth the price if you only have one or two axes, but that can add up quickly.
I have 3 simple recipes you can use to make a LOT of axe wax for very little money. It can cost less than 1/10th the price per ounce.
What do you need to make Axe Wax?
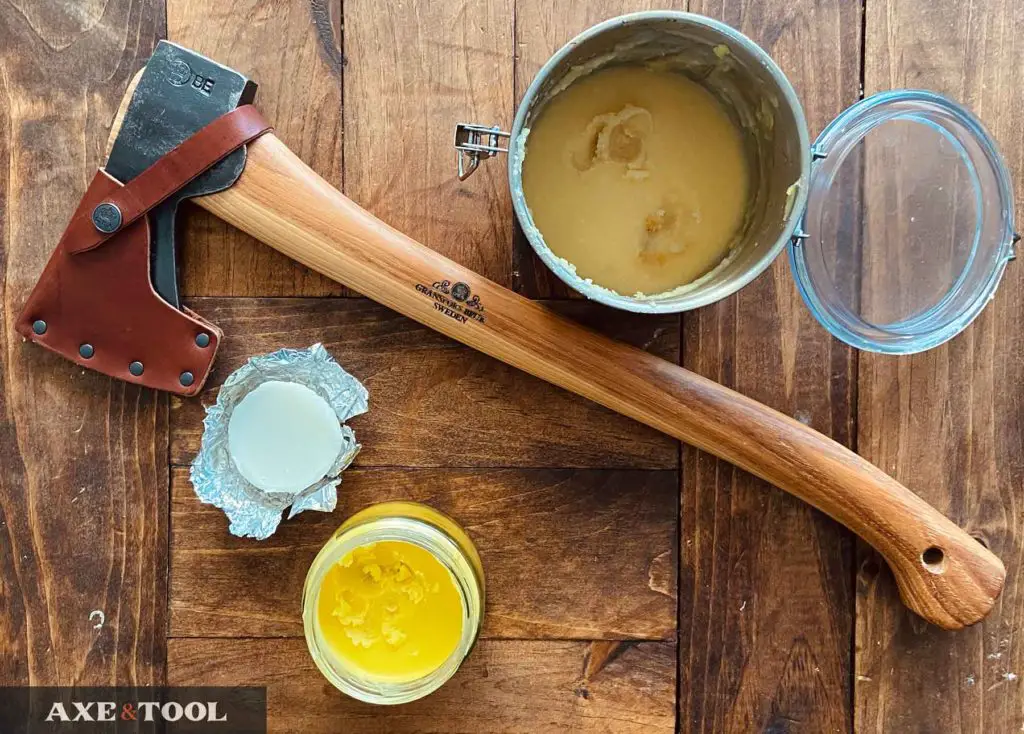
The two waxes I used most are food-safe and incredibly easy to make – only taking 20 minutes and 2 ingredients, and a heat-safe container or jar.
Ingredients:
1. RAW linseed oil (amazon)
2. Food-grade beeswax – pellets are best (amazon)
Alternative oils:
Raw linseed oil can be a little tough to find, it’s often not sold at the big box stores so there are a couple of easier alternatives.
Raw flaxseed oil is the same thing as raw linseed oil, just marketed for cooking. It’s on Amazon, it’s usually cheaper than “Linseed” oil for some reason.
Food-safe mineral oil or cutting board oil is also easy to find and might even be something you already have in the kitchen. This will work the same but make a white wax (doesn’t matter when applied).
I typically don’t use boiled linseed oil as it contains metals and chemicals to help it dry/harden. I don’t want that absorbed into my hands, used on leather sheaths, or possibly getting on my food in bushcraft. It can also dry out your wax over time. But I do have a recipe that uses BLO further down.
Choosing a wax:
Wax is pretty easy to find. You can get big bags of food-grade beeswax pellets on Amazon for under $20. Yellow or white – doesn’t matter. It won’t impact the look once applied to the axe itself.
You can get wax from local beekeepers/farmer’s markets, but to be honest I mostly use Amazon. The tiny pellets melt WAY faster, and I’m too lazy to break the bricks apart.
Optional Carnauba Wax:
You can add carnauba wax to the mixture to create a harder finish. Split the wax portion to be 20-33% Carnauba wax – and keep the rest beeswax.
I’m not sure it’s worth the money or effort. But it’s an option if you want a really hard wax.
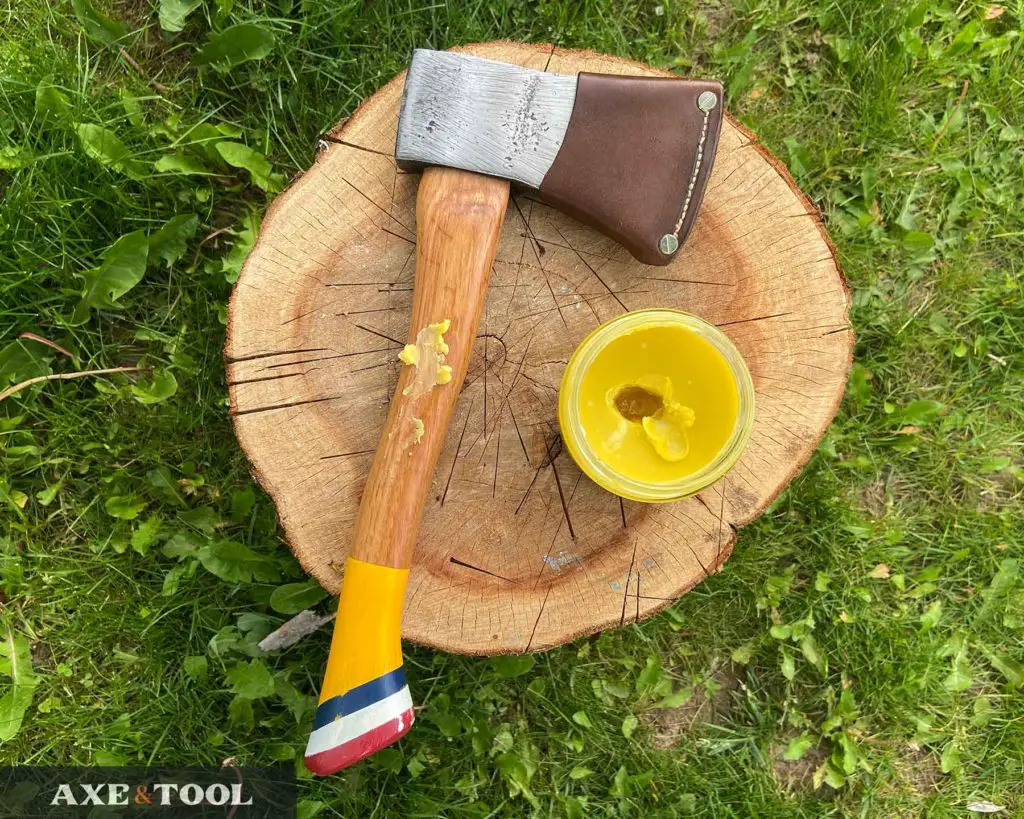
How to make standard axe wax
Food safe, medium finish, and soft enough to rub into wooden handles or scratches and pitting of a restored axe head. This is a classic paste wax.
Equipment you will need:
– Pot
– Heat-safe container (for the wax)
– Stovetop or burner
Step 1. Measure out the ingredients
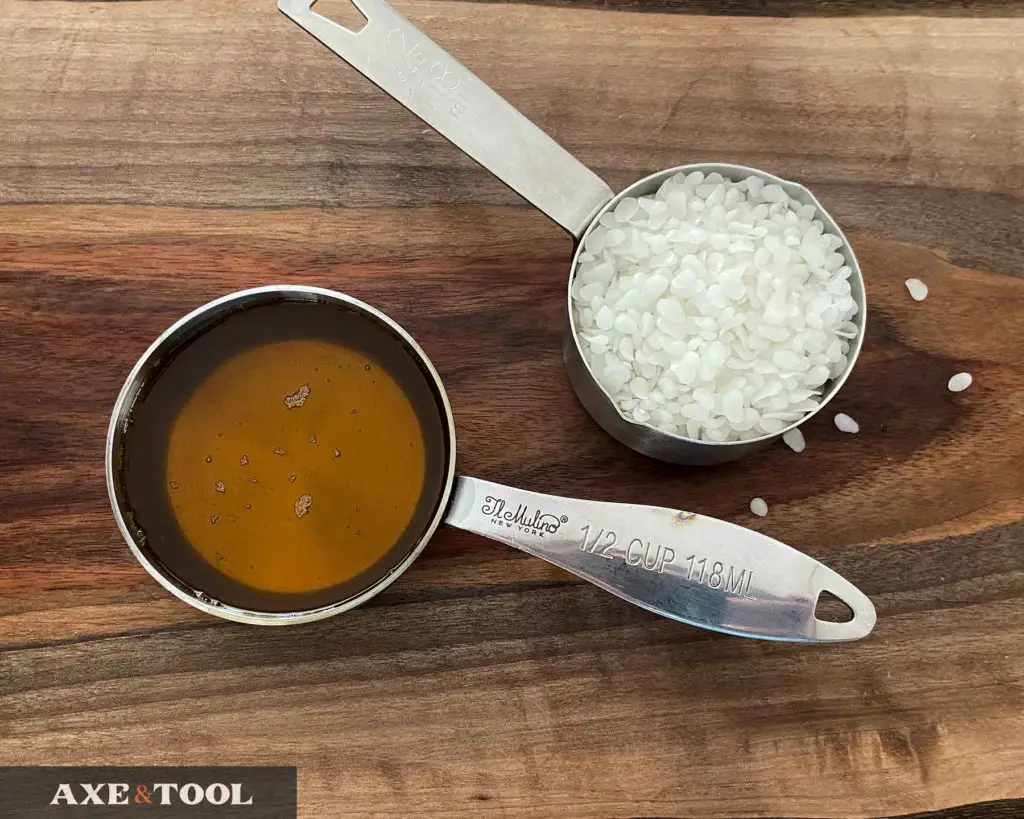
Measure the ingredients by volume (not weight), using measuring cups.
– 1 part raw linseed oil
– 1 part beeswax
This is why I like the wax pellets, they are much easier to measure. This ratio can be adjusted to your preference, by adding more oil to make it softer, and more wax to make it harder.
I wouldn’t go softer than 2:1 Oil/Wax, or harder than 1:1.5 Oil/Wax (if you want a hard wax jump to Recipe 2).
Step 2. Melt the wax
Partially fill the pot with water and start to heat it.
Put your wax in a HEAT SAFE container, and then put the container in the pot, either floating or sitting on a platform above the pot bottom.
TIP: If you are using a glass jar, make sure it is in the water before you start boiling otherwise you risk breaking the glass. I have done it.
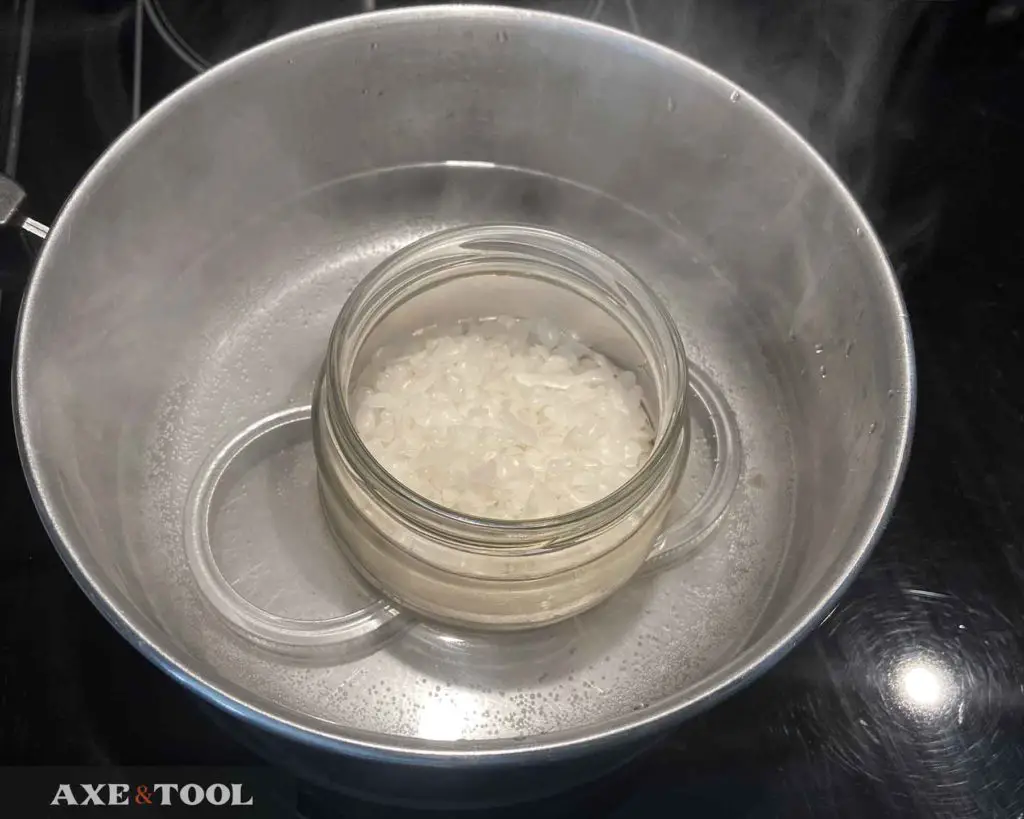
Essentially you’re making a double boiler. Make sure your container is not sitting on the pot bottom itself, it should either be floating or raised. I use jar lid rings.
I have found that a half cup of wax pellets takes about 10 min.
Step 3. Stir in the oil
Once the wax is liquid, pour in the oil and stir it together. The colder oil will start to harden the wax immediately so you will need to keep it in (or return it to) the pot while you stir.
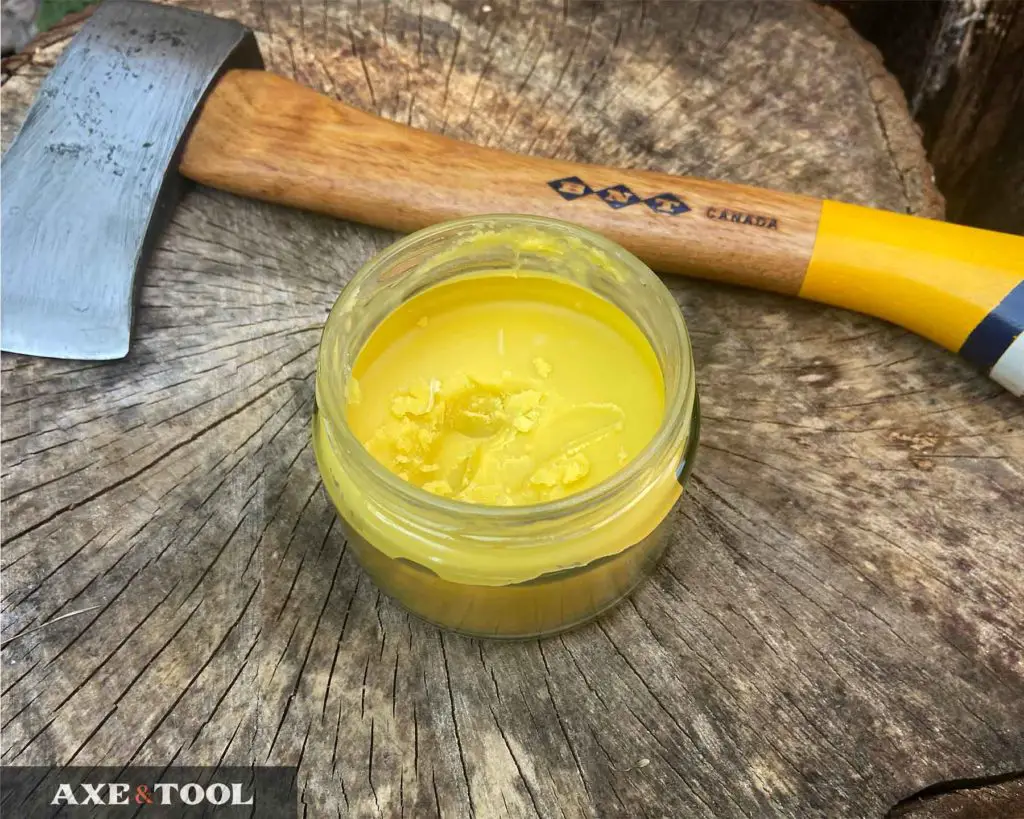
Step 4. Let it cool
Once the mixture is a consistent and clear liquid you can remove it from the pot.
Just wait for it to cool and harden so you can apply
Step 5. Apply to the axe
I find the best finish comes from a handle that has first been sanded with 400-grit sandpaper and well-oiled in advance. Add a couple of coats of wax over time to build up the coating.
Cooling fully will take a few hours, but you can start applying sooner (it will be easier). Just rub the mixture into the handle and axe head. I tend to let it sit for 30 minutes to an hour before wiping away any excess.
TIP: Consider not waxing the top of the eye. You may want to leave the top grain open so the oil can still be absorbed.
For the absolute best method to oil and wax your handle, see my step-by-step guide.
How to make hard axe wax
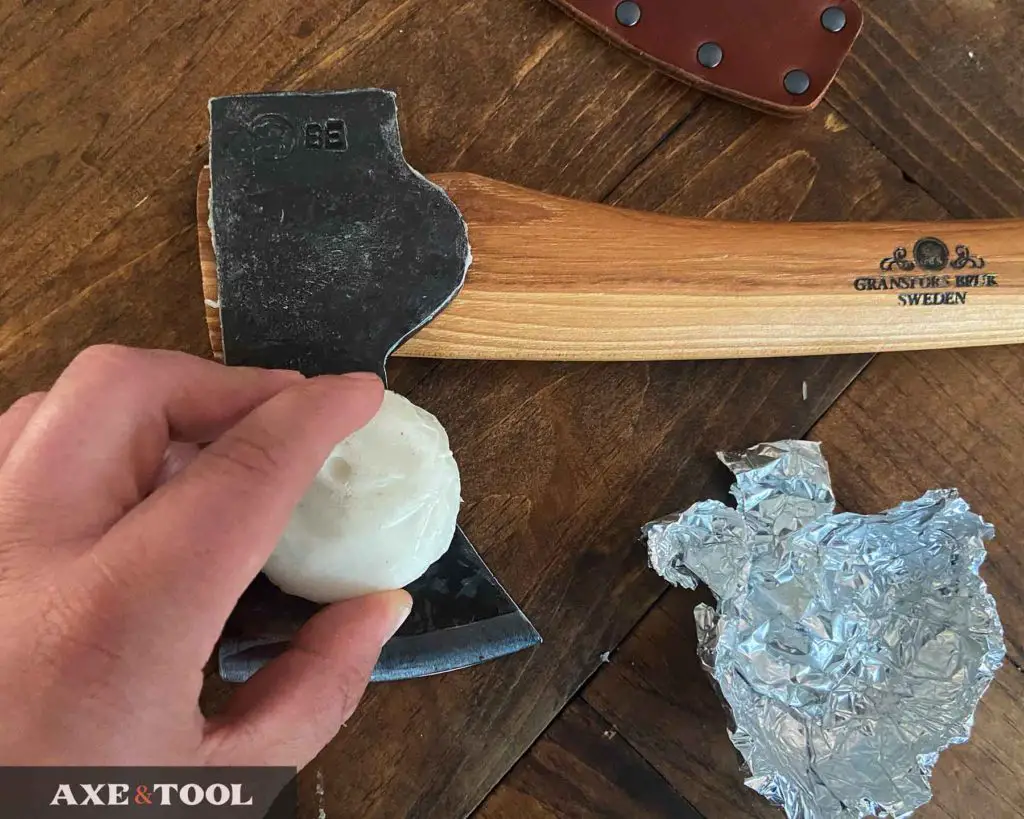
With a hard finish, the wax will be more like a puck you rub directly on the axe. Hard wax is a better and more resilient coating to protect the axe head. It can also be used as a harder finishing layer on the handle.
Equipment you will need:
– Pot
– Heat-safe container (temporary)
– Aluminum foil
– Foil tray (optional)
– Stovetop or burner
Step 1. Measure out ingredients
Mixture (by volume):
– 1 part raw linseed oil
– 2 parts beeswax
Step 2. Make a mold with the foil

This wax will be too hard to scoop from a container, so you need to make a mold to pour into.
I use a little cup of aluminum foil and set it in the mouth of a small jar. This makes it a nice handy-sized puck for use around the shop.
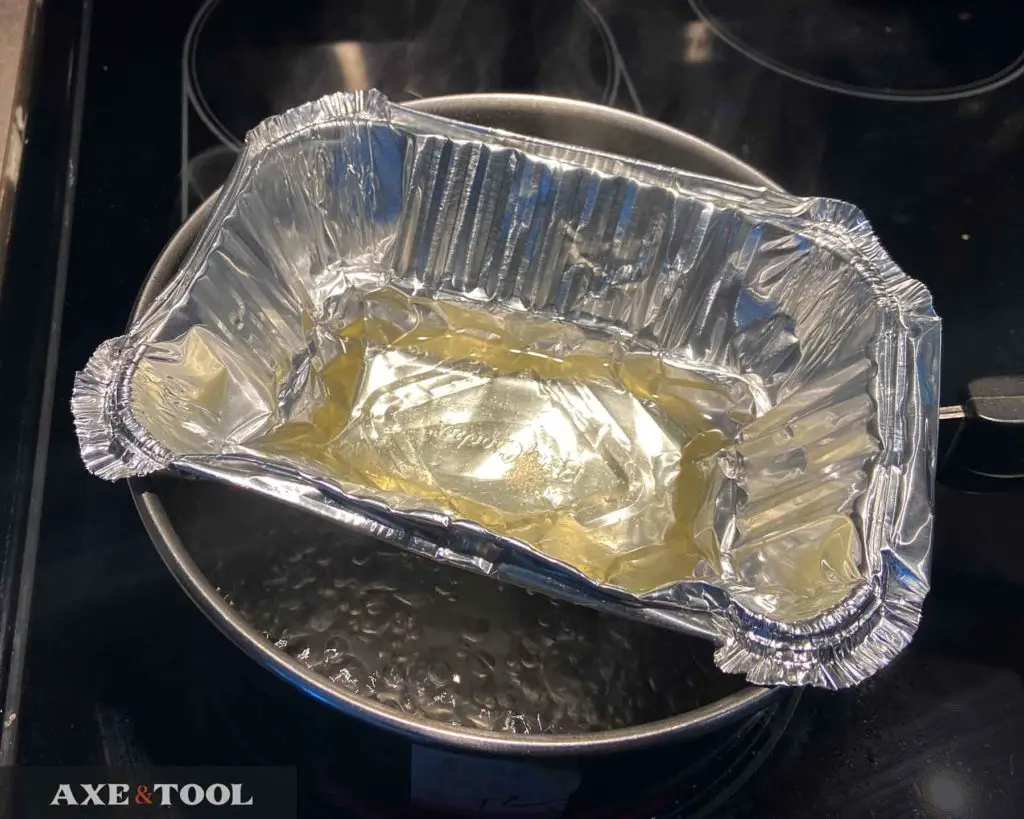
Step 3. Melt the wax in a tray
Heat water in the pot. The same double boiler technique as the previous recipe, except consider that you are going to be pouring the wax out of its container.
I melt the wax in a foil tray for this method, floating on the hot water (or hanging on the pot edge). You can form a spout and the wide surface area melts the wax quickly.
Step 4. Stir in the oil
Once the wax is liquid – pour the oil into the tray and stir it together. The colder oil will start to harden the wax immediately so you will need to keep it in (or return it to) the pot while you stir.
Step 5. Pour mixture into the mold and let cool
Once you have poured the mixture into the mold, it needs to harden. But, you will want to pull the foil out of the jar before it gets too hard and possibly gets stuck.
Step 6. Application
This wax should be 100% hardened before application. Give it at least 6 hours to harden.
Simply rub the puck on the head or handle to apply the wax, and then rub the axe with your hands to really work it in. This hard wax is nice because it’s less messy to apply, but I often use it in tandem with the softer wax. Like a 1 – 2 combo.
How to make axe wax with boiled linseed oil
medium-hard finish, tougher to scoop out and apply than the essential wax but keeps hardening over time to create a nice finish.
Mixture (by volume)
1 part boiled linseed oil
1 part beeswax – pellets are best (amazon)
1 part turpentine
This recipe can be modified for preference. Just add more oil to make it softer (I wouldn’t make it harder).
Equipment you will need:
– Pot
– Heat-safe container (for the wax)
– Stovetop or burner
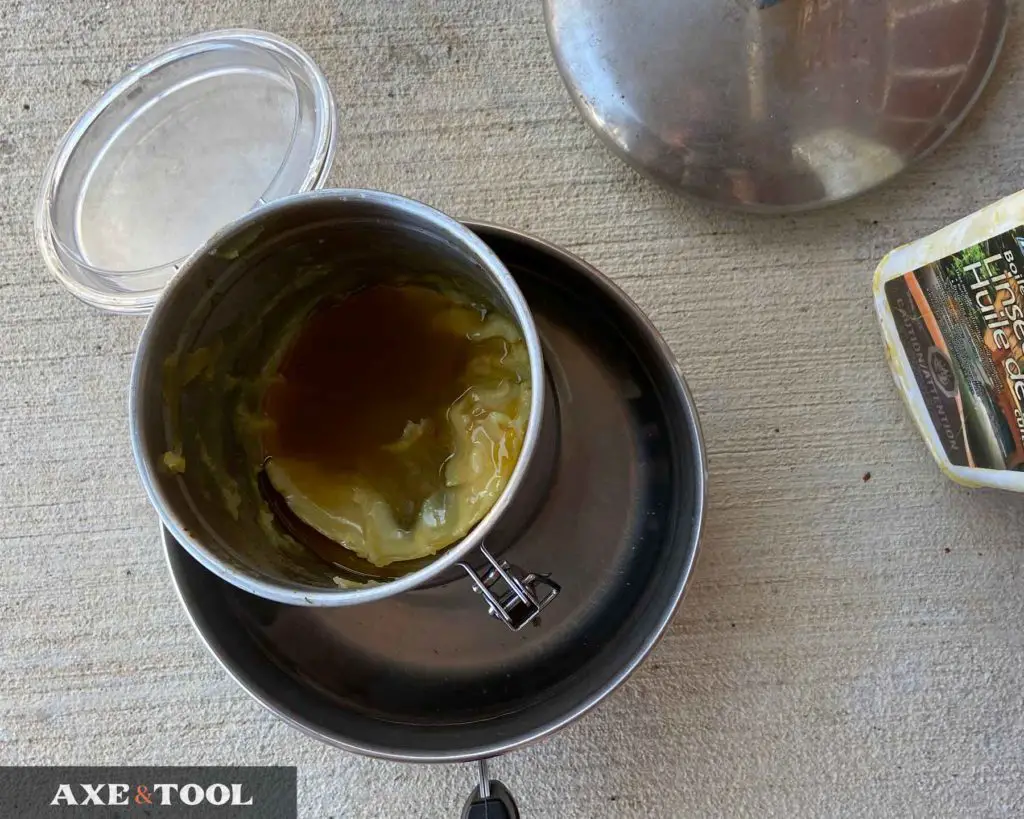
I like to melt the wax directly in the container I’m going to store the axe wax in, reducing the mess and hassle.
I use a camp stove but I’m sure a BBQ would work.
Caution: I would not prepare this one in your kitchen. Do it outside or in the workshop. Turpentine smells incredibly strong, and your family will not appreciate it (trust me). I have used a camp stove but I’m sure a BBQ would work. Turpentine doesn’t smell “bad”, but it’s strong.
This process is almost identical to the first wax (just different ingredients).

Step 1. Melt the wax
Partially fill your pot with water and start to heat it.
Put your wax in the HEAT SAFE container, and then put the container in the pot, either floating or sitting on a platform above the pot bottom.
Make sure your container is not sitting on the pot bottom itself, it should either be floating or raised.
Remember: If you are using a glass jar, make sure it is in the water before you start boiling otherwise you risk breaking the glass. I have done it.
Step 2. Stir in the oil & turpentine
Once the wax is liquid – pour in the oil and turpentine and stir it all together.
Step 3. Let it cool
Once the mixture is a consistent liquid (no lumps) you can remove it from the pot. Wait for it to cool and harden so you can apply
Step 4. Apply
Cooling fully will take a few hours, but you can start applying sooner (it will be easier). Just rub the mixture into the handle and axe head. I tend to let it sit for 30min to an hour before wiping away any excess.
Common questions:
How much axe wax do I need?
I make it about 8-16oz at a time. That will last a long time and leave me ingredients left over for other uses or future waxes. But the wax won’t go bad.
Do you need a food-safe axe wax?
I typically prefer it – especially for applying by hand. And if you make it in bulk it can also be used on knives, cutting boards, countertops, tabletops, you name it. Having extra food-safe wax on hand won’t hurt.
Food-safe axe wax is ideal to protect a backpacking or bushcraft axe that might be used on food or game. The wax is thick enough to avoid spills, and only a small amount is needed adding little weight to a pack. It is also better for leather sheaths.
Can the wax dry out?
If you don’t keep your wax sealed it will dry out and get harder. I have found this, especially for the workshop wax. But you can always just re-melt the mixture and add a little more oil to soften it back up.
Please comment below If I missed something or if you have any questions. I do my best to respond to everyone.
About the author:

About the author:
Jim Bell | Site Creator
I’m just a guy who likes axes. I got tired of only finding crap websites, so I set out to build a better one myself.
I’m also on Instagram: @axeandtool
Great article
You may want to read the Chemistry of BLO and the Drying process. The Drying is actually an Oxidation. Whereas the Oil oxidizes to form a long chain polymer. Its really quite interesting
Thank you
Honestly I’ve never quite understood what makes the BLO harden other than just “drying out”. But I think you’re right, i’m going to need to read up. Thanks for the explanation.
Wow, incredible article. Just purchased my first axe and also interested in finishing various tool handles. Greatly appreciate your knowledge and your time putting this out there. Super job
Thanks so much, that means a lot. Glad you found it useful and have fun with your axe!
Great article. I came here from the one on removing varnish from tool handles. I started doing that to other wood tools (including some sewing tools) because I preferred the feel of bare wood and felt I have a better grip. Finally got around to seeing if other people would also prefer to live without the varnish.
Now I’ll have to try some of the wax formulas. Thanks for giving lots of details and options.
Once you make the choice to start removing varnish it’s hard to go back. With wax I have a mix, lots of handles I want it right away – and others just feel right to leave with an oil finish. Most of the fun is in playing with it to figure out what you like. Thanks for the comment, always like hear what other people are doing – and glad you found this useful.
What about just running a beeswax or soy candle in the blade? Or a hard wax like Fjallraven’s paraffin/beeswax pucks?
Never tried straight wax or the pucks, but they would probably work fine. My only worry about a real hard wax is that it will miss small nooks and crevasses. I have a lot of old axes with pitting and “character” marks – so I want to make sure the wax is hard but still malleable enough to get in all the little holes.
If you try the straight wax or candle, please come back and let me know how it works! Thanks for the comment.
Anyone ever use Briwax on their handles?
Never tried it, but I just read the label and I imagine it would work just fine.
awsome info! thanks for the help.
Purchasing oil, link is fine; fyi wax link is bad goes to nails polish remover.
Thank you for recipe, very handy to have food safe version around… m
Thanks Mark, I will fix that link tonight. Appreciate you letting me know! Have fun making the wax.
Best information and thanks a lot.
Thanks!
Have you heard of beeswax:BLO or Raw Linseed oil: pine tar 1:1:1 mixture?
Otherwise thanks for the info!!
Yes – but I haven’t tried it myself yet. I have mixed pine tar with BLO for oiling handles, and I like the color it adds. It’s a subtle difference, and I imagine it would be similar with wax. It’s on my “to-do” list to try.
But, a word of warning – if you haven’t worked with pine tar before, it smells very strongly. Work outdoors.
Thanks! Picked up some pine tar from a livestock supplier and the beeswax and raw linseed oil you recommended: time to experiment!
Awesome! Let me know how it goes, and I may need to add it as a call-out here.
Thank you so much for sharing this excellent paper! Very well done, very helpful – you are helping humanity! Simple but crucial recipes with widely useful applications, that we are not typically taught these days. Will be waxing my axe ASAP and probably do both the 1:1 wax for the handle, and try to make a puck too for the head. Will be nice to keep around for later and other tools. You rock man. Printed this article as .pdf and hard copy for posterity, so thank you Mr. Bell
Thank you for the kind words Captain! Glad you found it useful, the wax puck is very handy to have around. My workshop is not insulated so it is a must. I’m not sure about “helping humanity” but I’m doing my best lol.
Thanks for this write up. I can use these methods on shovel handles as well. thanks for the tip about room temperature glass bowl into hot water may shatter, reminds me when I used a pyrex glass pan to broil a T-Bone steak and shatter as i brought out from oven into the Air condition atmosphere, steak landed on all shard of glass I was bummed..
Yeah, I use this stuff on a bunch other tools too. As for the glass – I figured I wouldn’t be the only one to make that mistake lol. I was annoyed at myself when lost the wax, but it wasn’t a tragedy like losing a steak! Thanks for the comment