How to Char or “Fire Harden” an Axe Handle
Charring or “fire-hardening” is an easy technique for customizing an axe handle, that looks great and feels great in hand. But it’s also easy to mess up if you aren’t careful.
This is just a hobby, but if you buy through a link I may get a commission that supports the site. Thanks!
Why Char or Fire-harden an Axe Handle?
Using fire to char or “fire harden” an axe handle is primarily for looks, but can add texture by opening up the grain on the surface. This gives the handle a more tactile feel in hand. However, it does not improve performance or “hardness”, and if done incorrectly can reduce a handle’s strength.
What You Will Need
The only thing you will need that is extra to normal handle finishing is a source of fire.
I highly recommend getting a simple propane torch for charring axe handles. You want a concentrated high heat to quickly darken the surface without heating up too deeply into the wood.
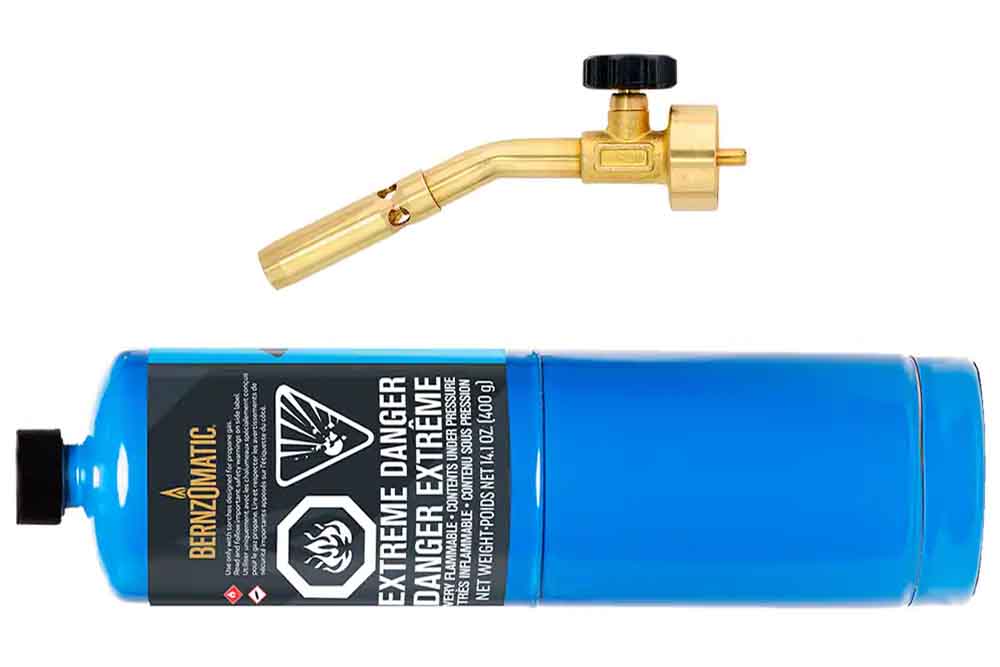
You can use an open flame from a fire or even a BBQ, but you will risk “over-cooking” which can leave it more brittle, less flexible, and more likely to break. And any time I have tried it the wind has played havoc with getting a controlled burn.
I just use a cheap torch I got from the hardware store, here is an example on Amazon.
Step 1: Prep the Handle
Before you char a handle it should be installed on the axe, free from any paint or varnish, and sanded to the finish you want. I typically sand to a 220-grit finish on my handles, but I know others who prefer 100-grit.
If you need to remove varnish I have instructions here.
Step 2: Fire
There are two different effects you can achieve with fire:
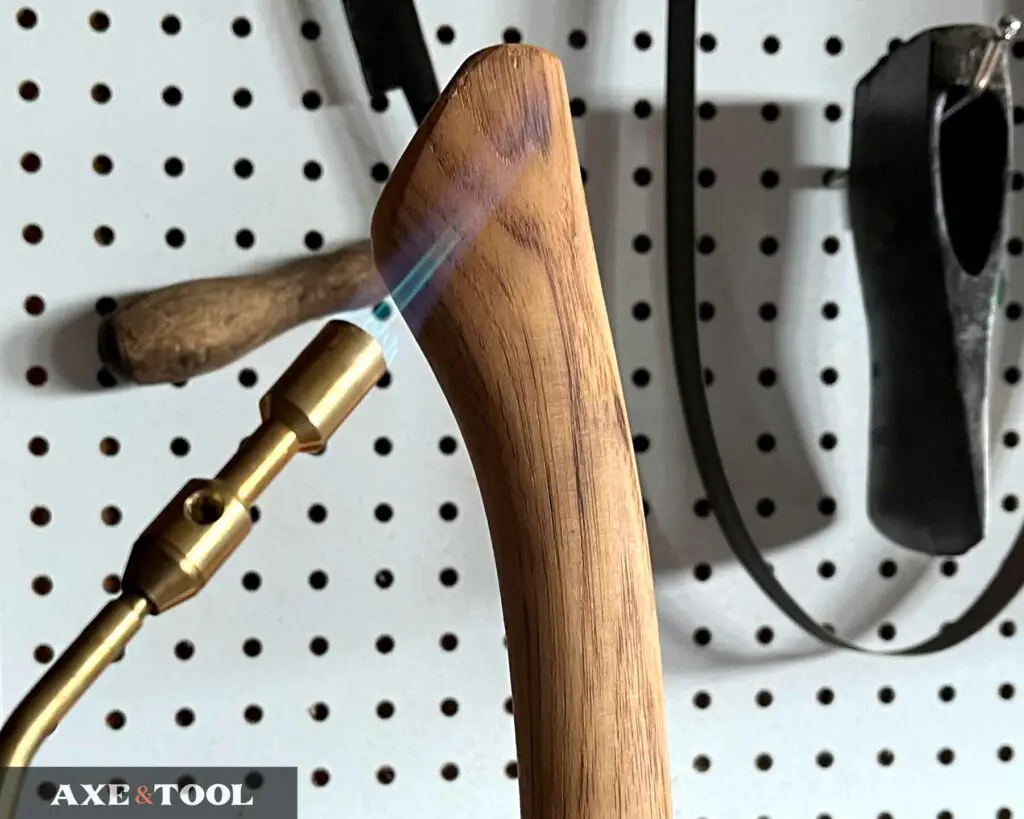
1. Feathering is for the Entire Handle
When using fire across the entire handle it needs to be done lightly without impacting the integrity. It’s not as dark or dramatic as full charring and should only affect the edges of the grain, creating a “feathering” effect.
Hold the torch so the flame is just licking the handle, and move it back and forth from side to side while slowly working up the length of the handle. Then repeat the process working your way back down.
The short exposure and constant movement will only singe the edges of the grain and create a more even and organic effect. It might take multiple passes to get the effect you want, but be patient – It just takes a moment to go from light feather to dark spot.
If you stop moving, you will get hot spots that are noticeably darker – which is fine, but always feels a little splotchy to me. You can sand down problem spots, and go back over if needed.
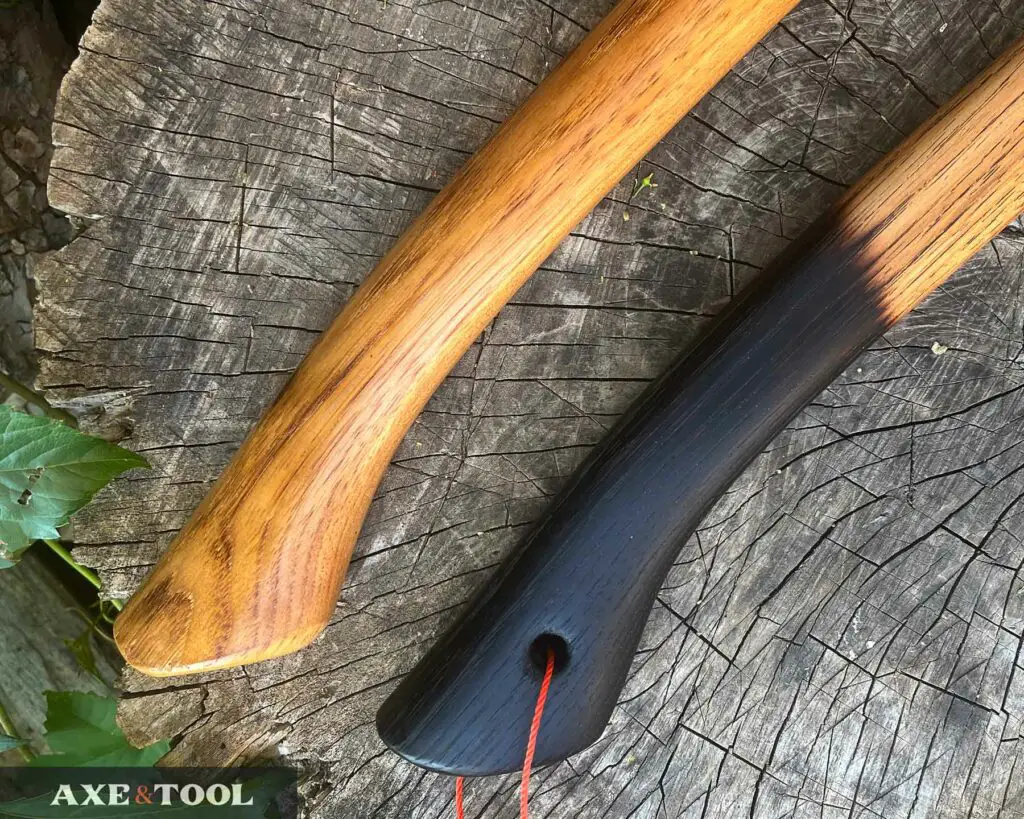
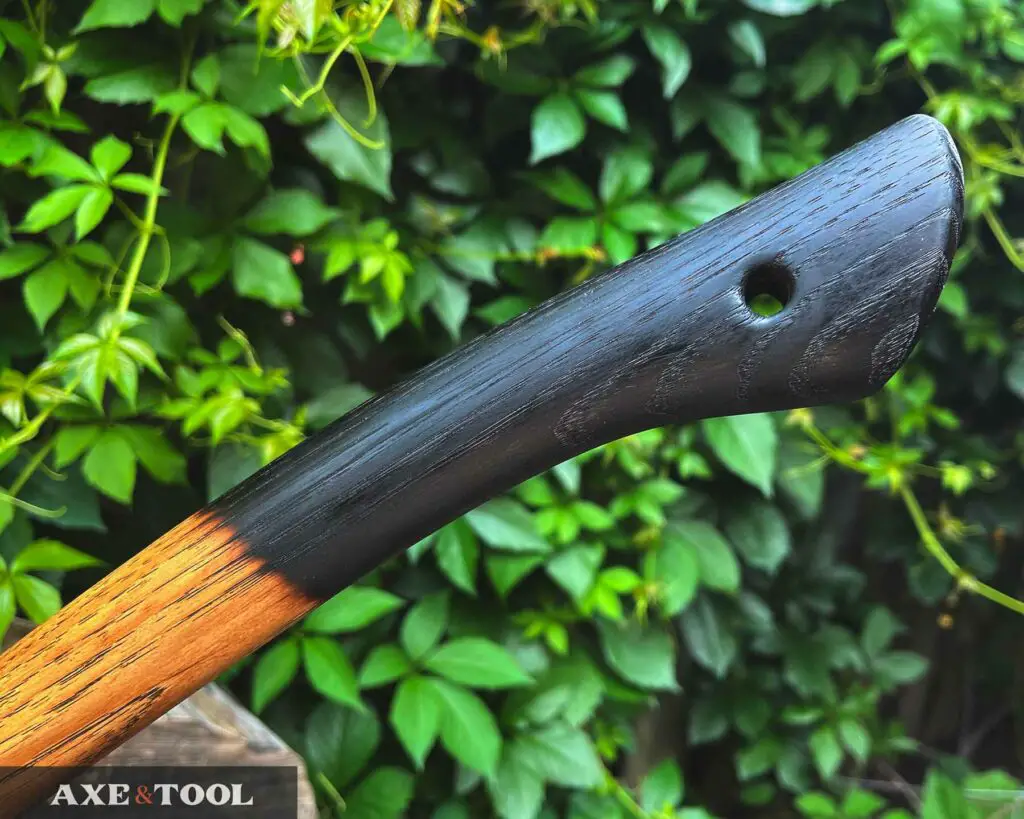
2. All Black Charring is Only for the Grip
Full charring should only be done to the grip, as it would be far more likely to cause strength problems in the handle if applied to the belly where it needs to be flexible.
This one is easier, just work your way around the grip holding the flame until the wood starts to darken. It’s best to do this in a couple of passes, darkening the wood and moving on. Allowing it to cool slightly before you go back and blacken it completely.
Often people like to char the grip and then feather up the rest of the handle.
Step: 3 Buff and Stain (optional)
Once you have achieved the desired effect with the fire, let the handle cool.
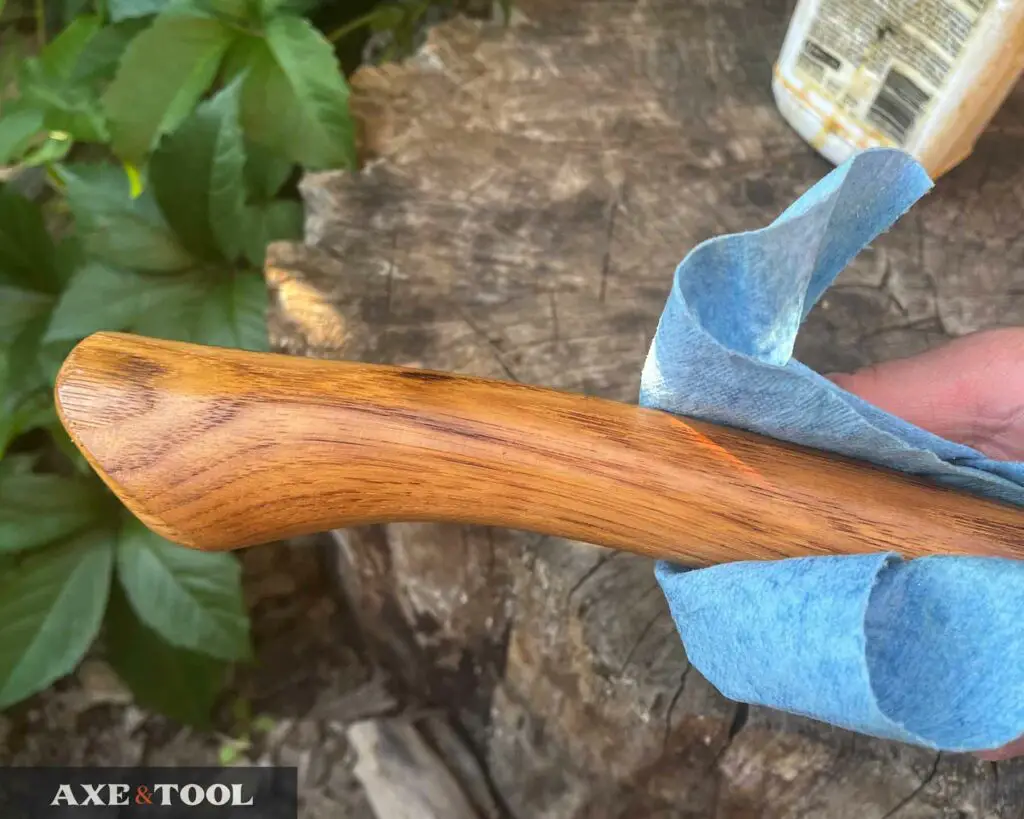
This is the time to add any stains (if desired), before buffing off any extra surface residue from both the charring and the stains.
Be sure to use a lint-free cloth (I like the blue shop towels). Do not use a normal paper towel, as the raised grain from the charing will snag little bits and they will be glued in the grain by the oils – ruining your lovely work.
If you have stained your handle, let it dry completely before moving on to the oil finish. Otherwise, you can start right away.
Step 4: Oil Finish the Handle
Oil is essential for all axe handles, but especially when they have been burned. The oil will rejuvenate the wood and should be added as soon as possible after charring (again using a lint-free cloth).
Boiled Linseed Oil (BLO) is the industry standard for handles, as it dries quickly and leaves a nice finish. You need to add at least 3-5 coats of oil to a new handle (over an equal number of days) to help build up durability and resilience quickly. And usually, I aim for more like 5-7. Then it’s at least once a year after that.
As multiple layers are added, the finish will build up to create a smooth protective barrier on the surface of the handle that will help protect the wood against moisture and environmental conditions.
Handles that aren’t properly oiled will dry out leaving them more fragile, prone to shrinkage and loosening, and feeling rough in hand.
I have a full article on How to Oil an Axe Handle, but an important note is you should skip any additional sanding mentioned in that post, as you will risk removing the charring effect.
Please comment below If I missed something or if you have any questions. I do my best to respond to everyone.
About the author:

About the author:
Jim Bell | Site Creator
I’m just a guy who likes axes. I got tired of only finding crap websites, so I set out to build a better one myself.
I’m also on Instagram: @axeandtool