Do you Need Axe Wax? When & How to Use it

Axe wax is a great finishing step that can add protection to every part of an axe and smooth the grip in hand.
Do you need axe wax?
Axe wax is not essential, but adds an extra water-repellent barrier that is more durable than oil alone. Wax will fill in the surface of the wood handle, preventing moisture from absorbing into the wood and raising the grain. It can also protect the head and leather sheath.
Wax is not a replacement for handle oils. Oil should be applied first to ensure longevity. In time, handle oils can build up a strong exterior barrier on their own, but it takes frequent application to get there. So wax can be especially useful on new axes as a shortcut.
I have an article on how I oil my handles to build up a barrier as fast as possible.
Wax should be considered for any axe that will spend time outside in rain, snow or even just cold. Condensation alone can cause annoying problems for an axe.
When I use Axe Wax
I use wax on my wood-handled splitting axes, as they may end up in the snow, rain, and cold. This is likely not required if you are in a warmer climate.
Small axes and hatchets that stay out on multi-day trips, or are stuffed in a pack can use the added protection – both from moisture and just rubbing up on things in your pack.
Choosing an axe wax
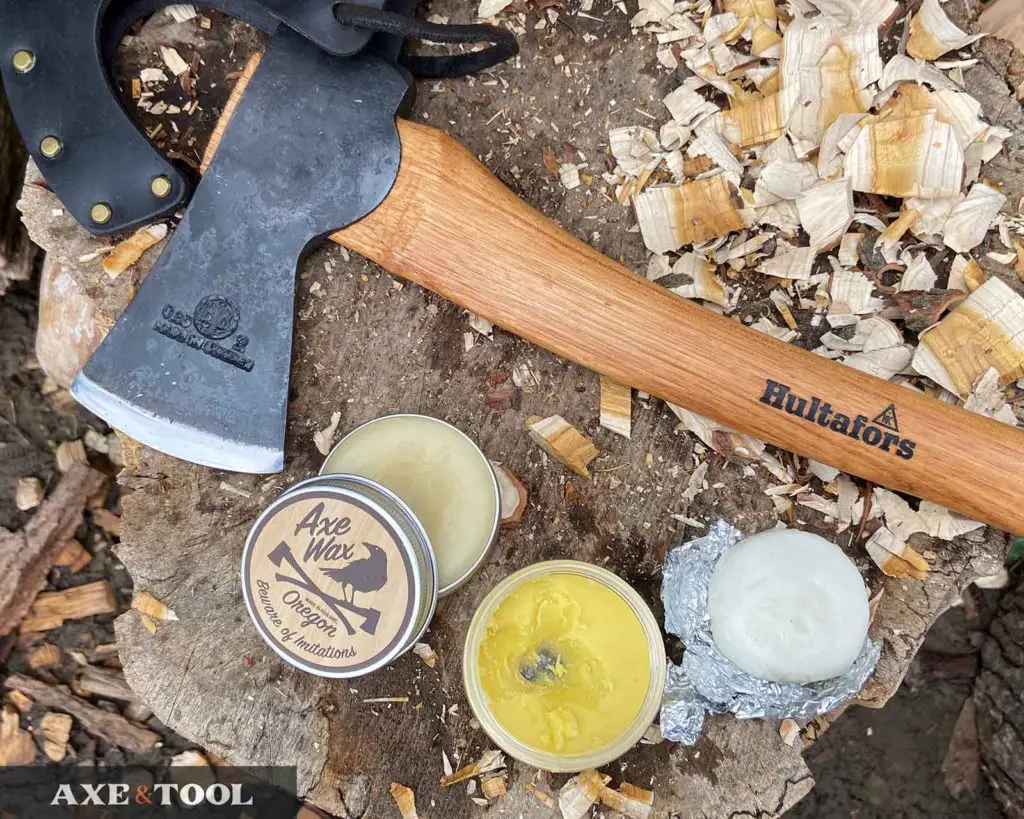
Any form of paste wax will work as an “axe wax”, but I always like to make my own. It’s so much cheaper, and you can customize it to your liking. The hardness of wax will determine how it’s best used.
I have an article to make axe wax, with ratios to make hard, medium, or soft wax.
Medium wax is your standard paste wax, and it works on every part of the axe. The head, the leather, and the handle. Any store-bought wax in a tin is going to be a medium wax.
– Oregon Axe Wax
– Minwax Paste Wax
– Butcher block wax
Hard wax is the best for metal surfaces. It leaves a tough barrier that won’t rub off easily. It can offer the most protection on the handle, but it takes more effort to work into the wood. Hard wax is something you are going to need to make yourself (it’s easy).
Soft wax is good for leather and wood and is easy to work in. It will absorb easily but it’s not as durable, and won’t improve the feel as much. Squeezable cutting board waxes are soft, convenient, and can double as an axe wax.
Waxing an axe handle

The handle of an axe should be well oiled before adding wax. It is not a substitute. The wax will seal in the oil and help prevent moisture and dirt from penetrating the wood.
I have a step-by-step guide for oiling a handle that leaves a handle silky smooth, especially when paired with wax.
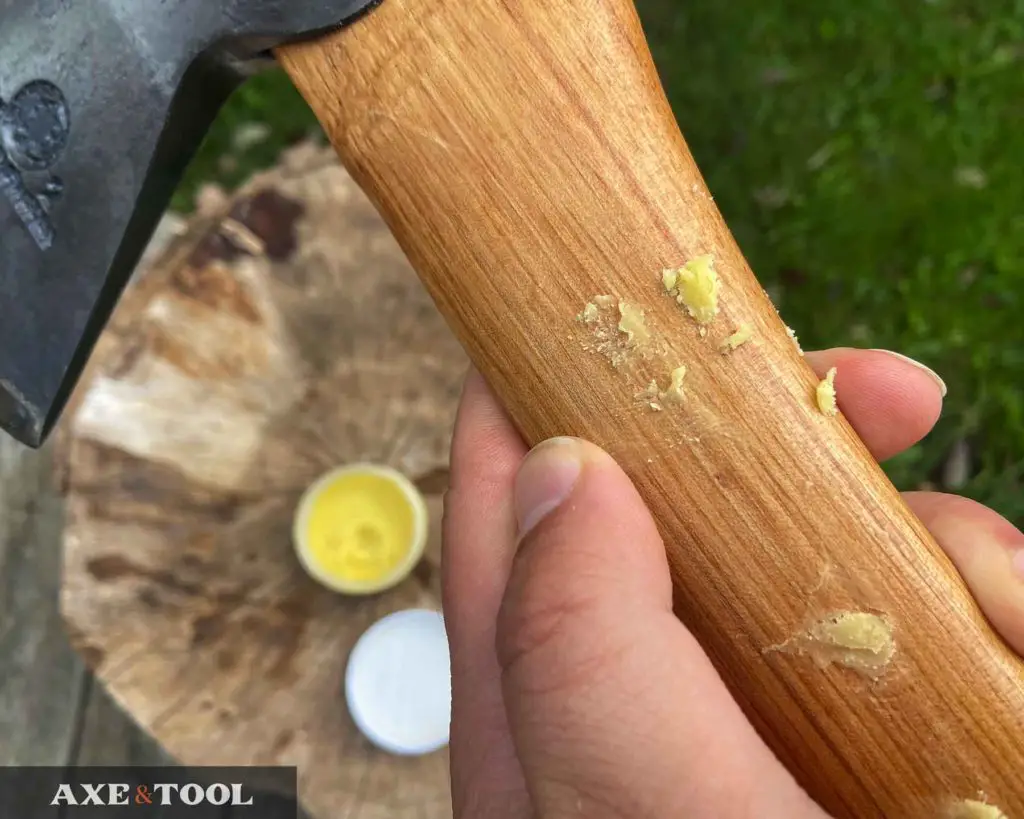
1. Rub wax vigorously into the handle.
It’s important to do this with speed to create heat with friction. This will soften and melt the wax, allowing it to deep into the wood grain. The handle (and your hands) should be wet to the touch with wax.
I’ve started to avoid waxing the eye of the axe so that it can always be oiled. If you’ve soaked it in oil already it’s probably fine to wax too.
Tip: plug any gaps around the hand with wax to prevent rust from getting on the inside.
2. Let the wax cool and harden.
Put the axe aside and let the wax seep in and harden as it cools. Let it sit for at least 20 min, but an hour is better. It will likely still feel wet to the touch and that’s okay.
Note: if you are using Minwax double-check their instructions (drying time may vary).
3. Buff away excess wax.
Wipe the handle dry with a lint-free cloth (like a blue shop towel). Use pressure and go quickly. You should set the axe aside again so any remaining soft wax will harden.
4. Repeat as needed.
I often do this process twice for a new axe or handle and then just as needed from then on. The wax will wear off with use or prolonged exposure to the elements.
It won’t completely stop the elements from affecting your handle, but it’s your best defense.
Waxing the head

Wax makes a great long-term rust protectant. It will harden into a much tougher protective layer than any oil.
Hard wax works best for metal, and it can be used for so many more things than just axes. Knives, saws, draw knives, any tool.
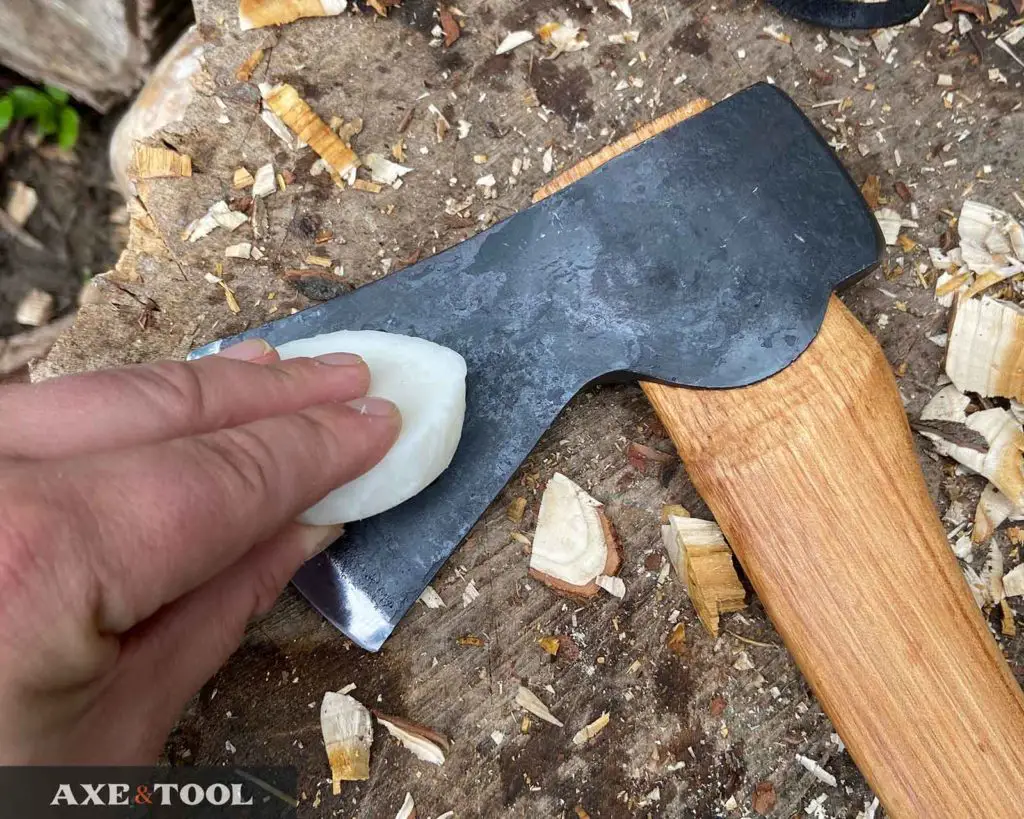
I make small pucks that can simply be rubbed onto the metal (at home or in the field). Medium wax works well too, just a little messier and better for the shop. Soft wax doesn’t harden enough to stick to the metal so I stick to medium or harder.
With medium wax just do the same process as the handle (you should do them at the same time). The head should only need one coat though.
With hard wax just rub the puck across the metal surface, using your fingers to get the wax into any grooves or pitting.
Let dry and wipe away with a clean rag (shop towels might not cut it).
Waxing the leather sheath

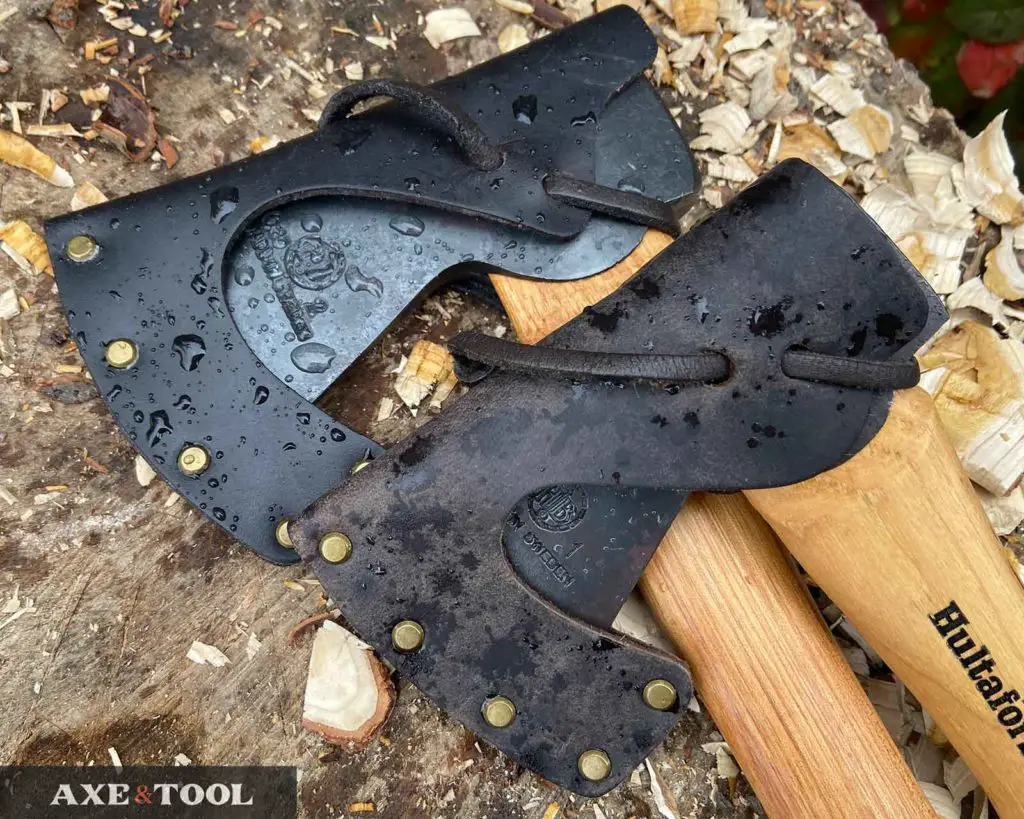
Waxing a leather sheath (or mask) is quite easy with axe wax (or any paste wax) and is a good idea for outdoor tools. The axe wax will moisturize the leather some, but more importantly, it adds a water-repellent protective coating.
An untreated sheath will absorb water and trap it, holding it against the steel (which is bad). Once waxed, water will bead and roll off instead of immediately starting to soak in.
Medium or soft waxes are best for leather ( they are easier to work in). They seep into the pores and wipe away cleanly afterward. Harder waxes still work, but need more effort to work in and clean off.
If you have a leather conditioner, give the sheath a good coating before adding the wax. This is just like oiling the handle before waxing. Apply to the interior and exterior and leave to soak in before wiping away the excess. I use Fiebing’s Aussie Conditioner (which adds some waterproofing itself).
1. Work the wax into only the exterior of the sheath by hand.
Rub vigorously to create some friction and soften the wax so it can soak into the leather.
I only wax the exterior of the sheath. It protects the outside from the elements and leaves the interior natural so that the sheath can still be conditioned.
2. Leave the wax to soak and dry for at least 20-60 minutes.
3. Wipe away the excess wax with a lint-free cloth.
For harder waxes, you may need to do some more rubbing by hand to warm up the extra wax and wipe it away. That’s it. One pass should do.
Please comment below If I missed something or if you have any questions. I do my best to respond to everyone.
About the author:
About the author:
Jim Bell | Site Creator
I’m just a guy who likes axes. I got tired of only finding crap websites, so I set out to build a better one myself.
I’m also on Instagram: @axeandtool


Luv your web page ! Thx
Wondering if I could use beeswax from a candle for this recipe or does it need to be food grade ?
Beeswax from a candle will work fine – it doesn’t HAVE to be food grade. I just prefer it
Thx- why do you prefer food grade bee wax over candles wax?
First – you are working it into the axe with your hands – so the more natural the better. Then, as you work with the axe, and your hands heat up – so some will inevitably transfer off to your skin. So there will likely be residue on your hands if you stop to do something like eat. Or if you are backpacking or out in the bush, you might use a hatchet for food-prep. I like avoid any extra chemical junk if I can. Is it really a BIG deal – no probably not. Just a preference.
Great info. I recently got a Hults Bruk (USA name for Hultafors) Akka Forester’s Axe that I coated with BLO, and a Husqvarna Swedish Style Splitting Maul. The bit is made by HB, although unpolished on the cheeks.
I used Oregon Axe Wax, which is made here, on both. I didn’t coat the handle with BLO, but I will sand it down and do that.
For leather care, I have adopted Otter Wax saddle soap, leather salve, and boot wax.
I’ve actually got an Akka coming way shortly I’m eager to get my hands on.
Thanks for the info, I generally use Aussie wax for my leather stuff. But I tend to be lazy and often just use the Oregon axe wax and my own recipe for metal, wood, and leather because I can’t be bothered to go get everything else out.
Nice write up, have you ever tried leather conditioner from “fruitage of the field” she makes a good leather conditioner that’s all natural. I think it has lanoline in it also.
I know too much beeswax can make the leather hard.
No I haven’t, I’ll look into it. I should probably test out a few more options. I appreciate the tip about the beeswax – I haven’t had an issue yet, but it makes sense.