Using RAW Linseed Oil (Not Boiled) for Axe Handles
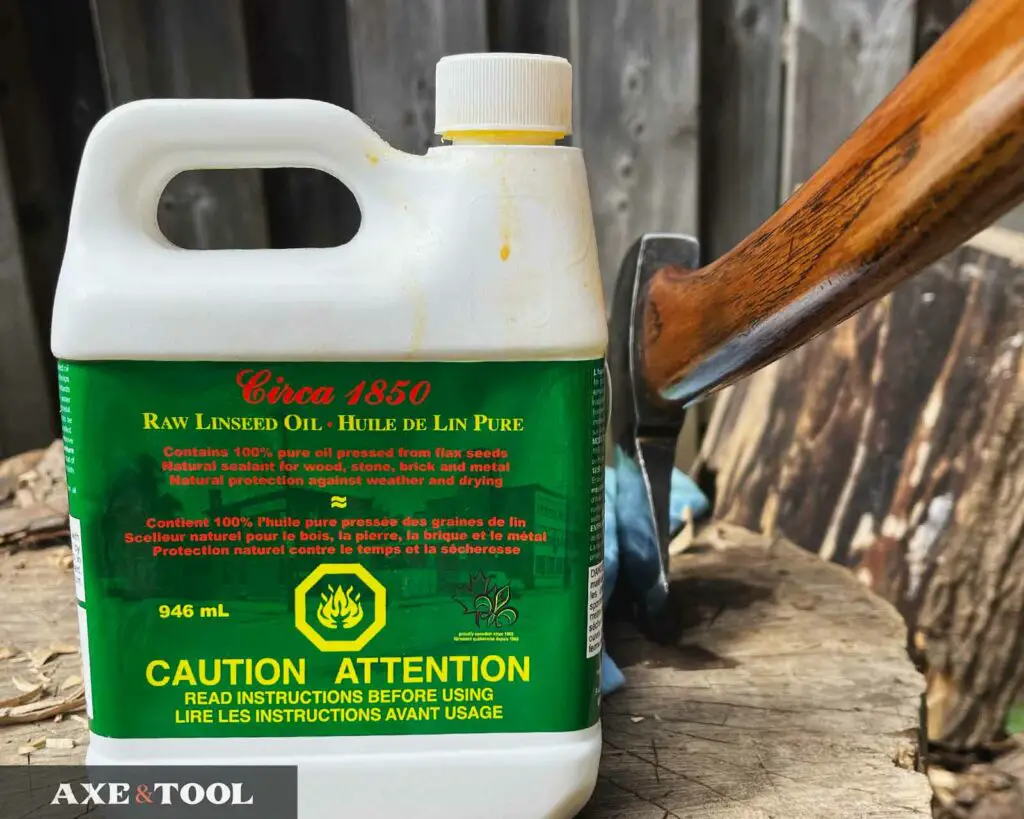
Despite what people say online you can absolutely oil your axe handle with RAW Linseed or Tung oil. The process is different from using Boiled Linseed Oil (BLO), and it takes longer to dry – but there are also some real advantages.
I still use BLO for many handles – but I find myself switching to RAW for a lot of my new axe builds and restorations.
I’m going to focus on linseed oil, but the principles are the same for Tung oil as well.
Raw vs Boiled Linseed Oils
Raw linseed oil (aka flaxseed oil), is a natural and food-safe hardening oil. Linseed oil will slowly polymerize when exposed to oxygen, creating a hard and robust finish in wood. The slow drying time allows the oil to penetrate deep into the wood before hardening.
Because of the slow dry times, more oil is needed to fully saturate the wood and build up to the surface. Only once the handle is “full” will you start to build up an exterior protective coating. This “filling up” is what takes the most time with raw linseed oil.
Boiled linseed oil (BLO) is not actually boiled but has chemical agents mixed into the linseed oil to greatly speed up the drying and polymerization process. Because the oil hardens quickly, it doesn’t have time to penetrate deeply into the wood. So it will harden near the wood’s surface, and a strong exterior coating can be built up much quicker.
Wear rubber gloves when you apply BLO, or the chemicals can absorb into your skin.
How to Choose Between Raw and Boiled
Boiled linseed oil has long been the industry standard and for good reason. It’s faster, cheaper, and effective. If you just bought a decent axe, it likely came with BLO on it already, so most users can just stick with it.
Get an excellent finish with boiled linseed oil following these instructions.
The main reasons to switch to RAW linseed oil are to avoid chemicals on your hands and tools, or if you need extra penetration.
Raw Oil Offers Versatility & Safety
Raw linseed oil should be considered if you are frequently oiling tools, furniture, and other things all around the house or shop. Having one oil you can use on all surfaces and tools regardless of use is convenient.
I feel better about getting it on my hands and working with it regularly – because I don’t need to care as much about chemical transfer to other tools or touching my face etc.
This also makes it great for knives or hunting/bushcraft axes that might be used for processing game or food prep.
Vintage Handles can Benefit from Raw Oil
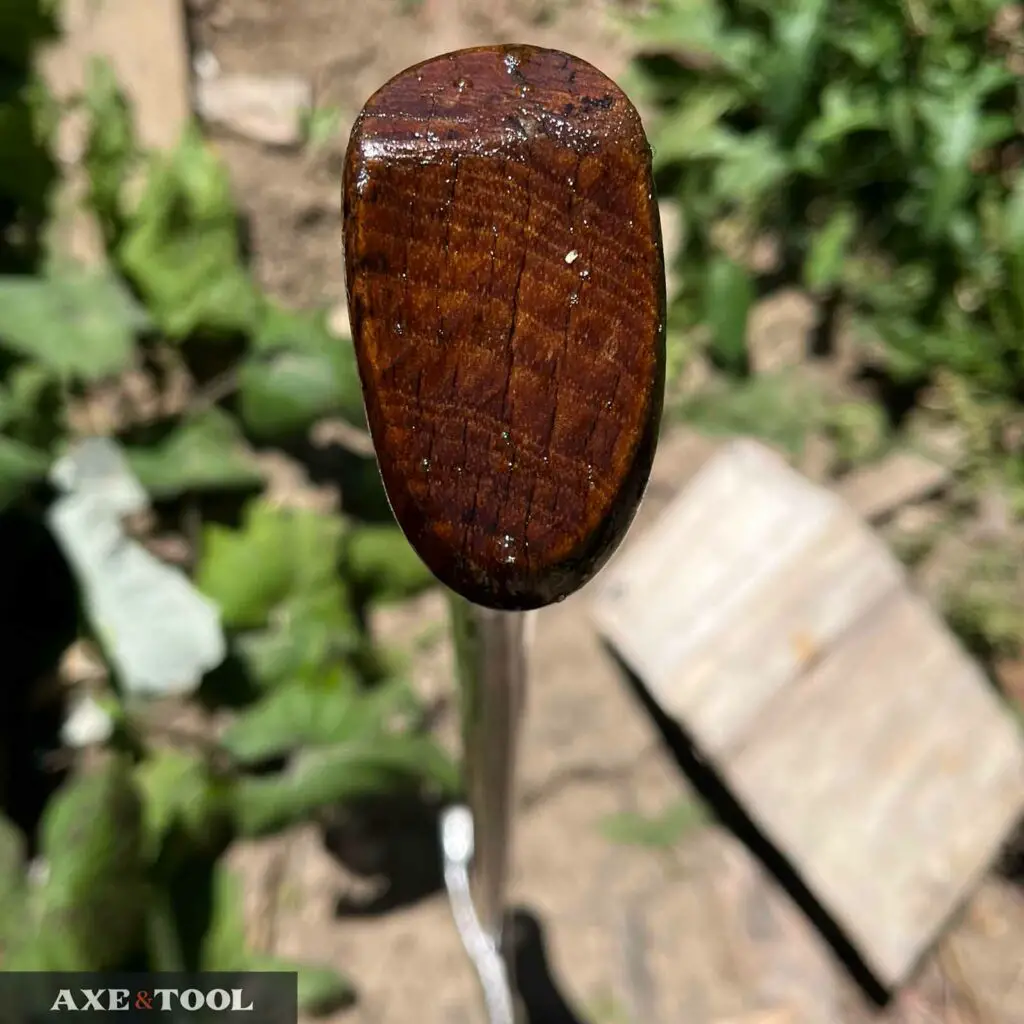
I will use raw oil on dry vintage handles to better rejuvenate the wood, as RAW linseed oil will soak much deeper and more thoroughly.
I have also had vintage handles have their logos washed away when BLO was applied. It felt like the chemical agents in the oil weakened the paint (But I have nothing to back that up).
How to Oil a Handle with Raw Linseed Oil
The process is different from using boiled linseed oil, as you have to account for the saturation. It’s best if you have more time to “tend” to the handle on the first day, but this process will be an ongoing effort.
What you will need:
- Raw Linseed Oil (32oz / 1L)
- Sandpaper (100 grit + optional 200 grit)
- Lint-free cloths (Shop Towels)
Many big-box hardware stores don’t carry RAW linseed oil, so look local – but you may need to use amazon. Brand doesn’t matter.
This is just a hobby, but it supports the site if you use the affiliate link above.
Step 1: Clean & Sand the Handle
Before getting started, you need to make sure your handle is prepped.
Any varnish on the handle needs to be removed before you can oil the handle. It’s not hard, and I have instructions here. Or if it’s an old handle, clean off any dirt or sap. This can often just be done by sanding.
Sanding the handle
Once the handle is clean, sand it to a smooth finish with at least 100 grit sandpaper. I typically follow up with 220 grit as well.
Alternatively, you can use a cabinet scraper to get a smooth finish, with no sanding required. I have started using these much more frequently (amazon).
Step 2: Fully Saturate the Handle
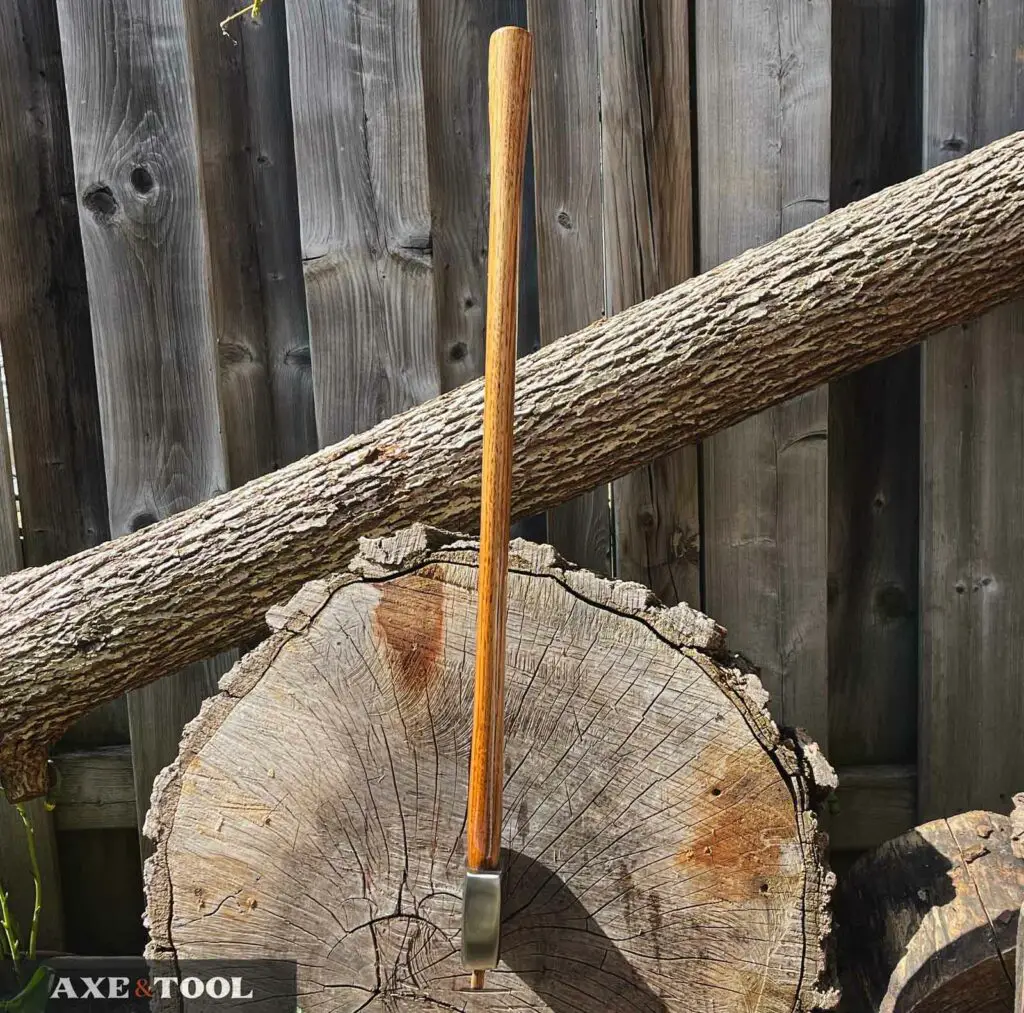
Pour or wipe the raw oil onto the wood – keeping it as thick as possible. Then wait while it gets absorbed into the wood (about 15 min).
Once the outside of the handle starts to look dry, add more oil. Repeat this process as many times as you can throughout the day, until the oil stops being absorbed. You can spread this over a few days – but it’s best to load the wood with oil on the first day.
Tip: Heat will make the oil soak up faster, so it’s best if you can do this in the sun on a warm day – or near a heat source (like a fireplace).
Rotating the Axe
It can help to pool the oil evenly on the handle if you can position the axe in different directions. I just stick the axe in a log, which allows me to alternate sides and turn it in any direction.
Soak the End Grain
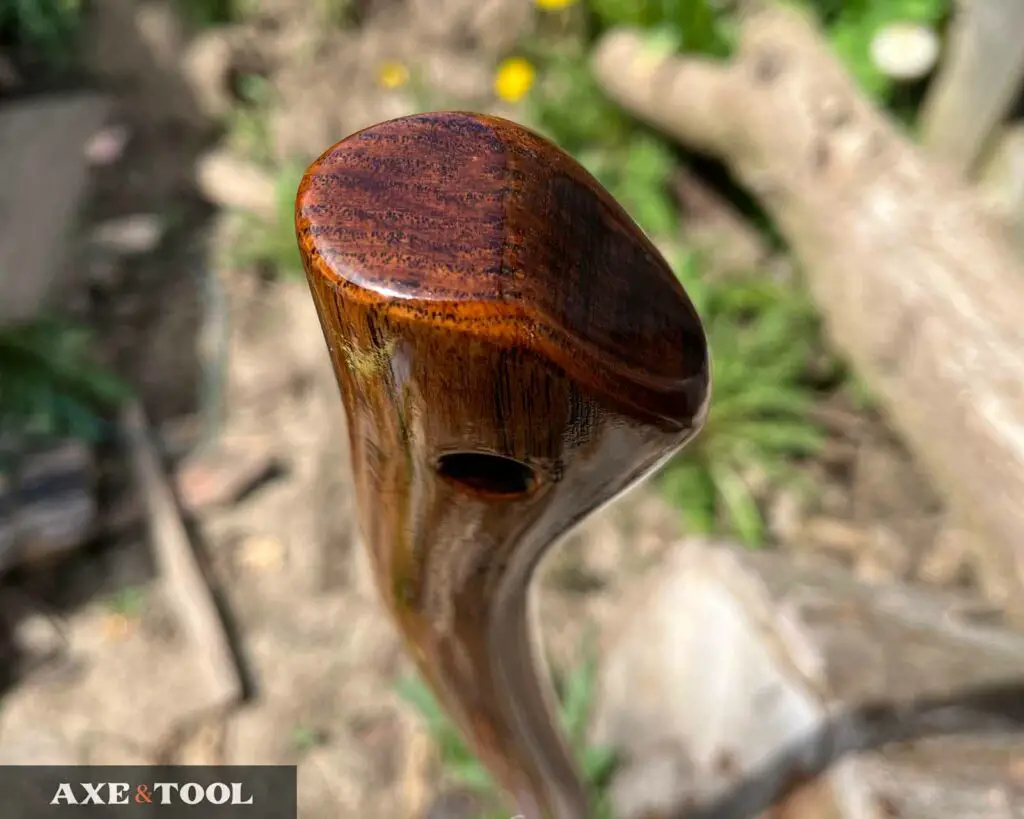
Pay special attention to soaking both ends of the handle. The end grain of the wood will act like straws, pulling oil deep into the handle from either end.
Step 3. Let the Handle Dry for a Couple of Days
Once the oil stops soaking in – wipe the excess off the exterior of the handle and then let the axe sit for a day or two to continue absorbing and drying.
It will take weeks for all the oil to truly dry within the wood, but it should be mostly dry to the touch within a couple of days.
Do a Second Soak
After one good soaking the axe is oiled and can be used as needed.
However, you can (and should) try another “heavy” oiling session like on the first day- but this time will go much quicker. This will get the oil closer to the surface and give more protection from moisture and general use.
Give the axe another few days to dry – and it will be ready to put to work.
Step 4: Maintain and Build
Going forward – as you use the axe, wipe a thin layer of oil with a rag whenever you get the chance. Could be once a week, once a month, or just whenever it makes sense.
This will help build up a strong exterior coating.
Consider Axe Wax
Axe wax can be a quick way to add external protection after your handle is full of oil – and most are also natural and food-safe.
Also, see:
Make your Own Axe Wax
When and How to Use Axe Wax
Please comment below If I missed something or if you have any questions. I do my best to respond to everyone.
About the author:
About the author:
Jim Bell | Site Creator
I’m just a guy who likes axes. I got tired of only finding crap websites, so I set out to build a better one myself.
I’m also on Instagram: @axeandtool


Good morning.
I’ve been using WD-40 to moisturize some ax handles.
Something to comment on that?
Thanks.
It won’t hurt, but it also won’t protect or hydrate long-term like boiled linseed oil or tung oil will – they soak in and solidify within the wood.
Hey Jim,
Appreciate the website and the walkthrough guide! Is there any concern of the handle getting soaked with too much raw linseed (under step 2)? How did the axe you treated fair?
Thanks for the comment! I have never had any issues with any raw linseed oil handles. I have only been doing this a couple years, but I have one boy’s axe with a pretty thin handle that has seen a fair amount of use – and I filled that one as much as possible. No issues.
Great article. Making batch of axe wax now for th older tools, and switching to linseed oil for th new ones. Thanks fir th useful information… mark
.
Thank you for making this article very useful and keep up the good work
Thanks, appreciate it!
I have read this article as well as your article on using boiled linseed oil (BLO) to oil the axe handle. I have 2 questions.
#1 When using BLO, you state that you sand the handle after each application of BLO that occurs over several days. However, when you use RAW linseed oil (RLO), you recommend doing multiple applications of RLO the same day. Do you sand the handle between each of the multiple application of raw linseed oil? Or do you just continue applying RLO after the oil has soaked?
This leads me to my second question.
#2 After the first day of application, you go on to recommend letting a few days pass and then do a second application of RLO. Do you sand the axe before starting the “second round” of multiple application of linseed oil?
Thanks!
Often with the RAW oil handles I don’t do any sanding after the oiling – I sand them to 200 first and then just oil. But that is usually due laziness, because the raw process takes more time anyway.
The extra sanding can help the final finish with RAW oil as well, but you only need to do it after you have reached full saturation. So basically only once you are “done”, then you can do a light sanding and wipe on a very thin coat of oil. You can do this once or twice and you should be good.
Hope this helps.
Hi Jim,
What do you think about simply dipping the handle in oil (raw or boiled) and letting it soak?
I think it would probably be a great way. Most folks (including me) just don’t have enough oil or a large enough container to do it, and it would likely increase the drying time – but it would certainly fill the handle up nicely.
I’ve been doing it without sanding but will try sanding now to see how it works, good article.
Thanks, yeah the sanding is more of a preference thing – but I’m a fan of the feel it gives the handle.