
Complete Guide to Axe Handle Finishes
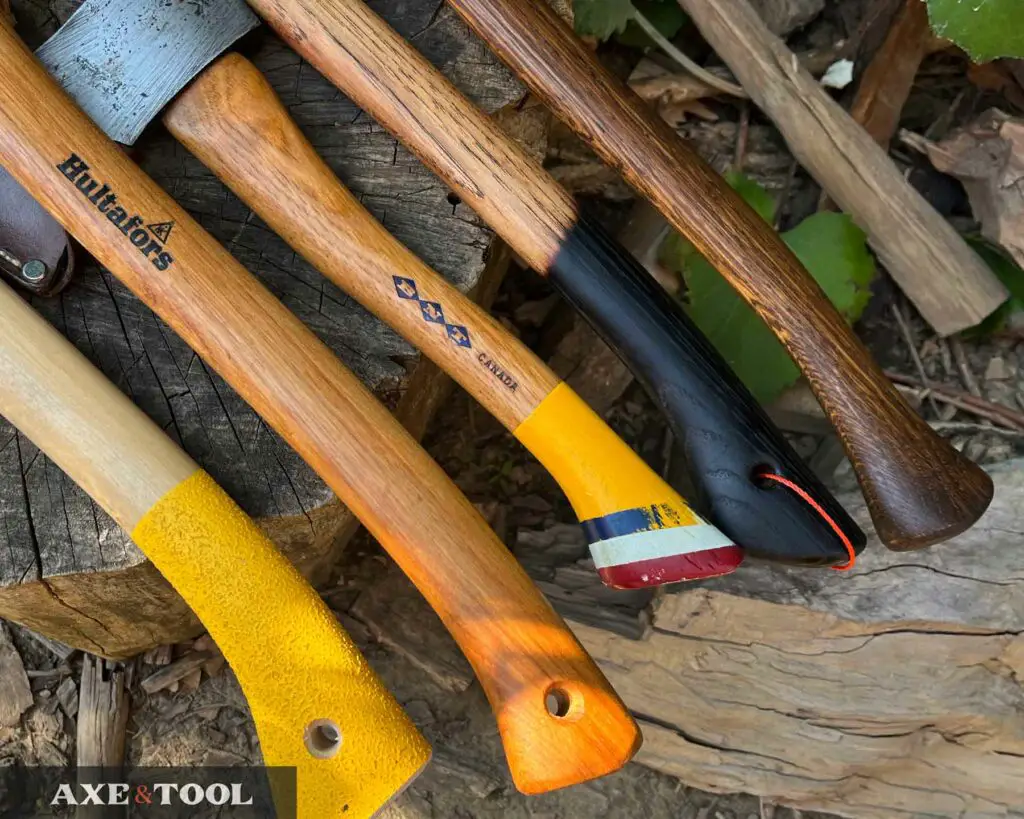
There are a few very nice ways to finish an axe handle. Some methods have a practical reason, while others are purely for looks, many can be combined, and some common coatings are best avoided altogether.
I have used all these handle finishes over the years, and still often like to mix and match.
An Oil Finish is Essential For a Handle
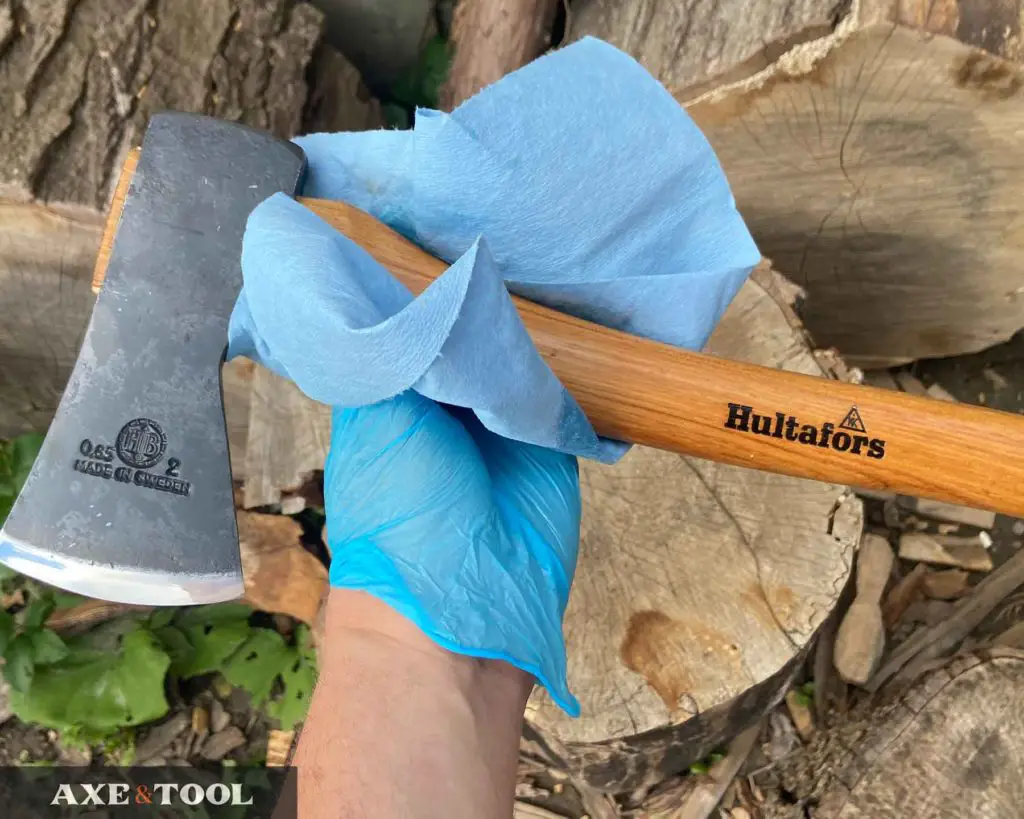
Oil is a must for axe and tool handles, no matter what other finishes you add.
Hardening wood oils like linseed oil or tung oil soak into the wood, keeping the handle strong and flexible. As multiple layers are added, the finish will build up to create a smooth protective barrier on the surface of the handle that will help protect the wood against moisture and environmental conditions.
Handles that aren’t properly oiled will dry out leaving them more fragile, prone to shrinkage and loosening, and feeling rough in hand.
Boiled Linseed Oil (BLO) is the industry standard for handles, as it dries quickly and leaves a nice finish. You need to add at least 3-5 coats of oil to a new handle (over an equal number of days) to help build up durability and resilience quickly. And usually, I aim for more like 5-7. Then it’s at least once a year after that.
I have some extra tips for getting a better surface finish sooner in my post: How to Oil an Axe Handle for the Best Results.
Note: If your handle is coated in varnish, it will have to be removed before you can add the oil.
Alternate Oils for Axe Handles
While BLO is the industry standard, I have tried many more oils along the way. The following are also great options:
- Tung Oil
- Danish Oil
- Polymerized Oils (Tung/Linseed)
- Raw Linseed Oil (requires a separate process – see here)
Wax Finishes Add Extra Protection
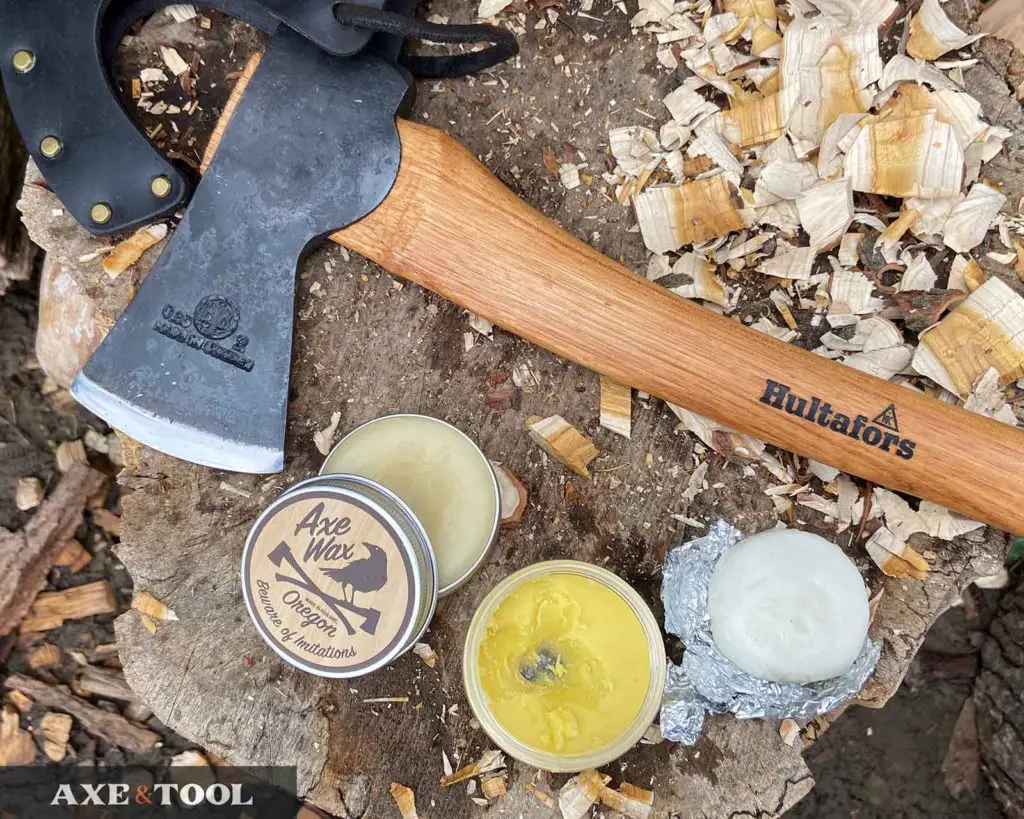
A wax finish can be added on top of a fully oiled handle for additional protection from the environment and moisture. The wax is a physical barrier that stops moisture from getting into the wood and raising the grain. It is especially useful for axes used in the rain or snow.
While waxes do contain some oils to make them soft, the wax can’t absorb enough to be used on its own, so make sure you have oiled the handle well first. Wax finishes also wear off with use and may need to be re-applied periodically.
Wax can also leave a slightly more grippy and tactile feeling to handle which some users like – but others don’t.
Axe wax isn’t essential, as you can build up an oil finish to be just as resilient (with time), if you are still unsure, check out: When and How to use Axe Wax
Axe wax can also be fairly pricey, especially if start using it on other tools and metal parts. But it’s way cheaper to make your own. Check out my 3 recipes: How to Make Axe Wax
Charring or “Fire Hardening” an Axe Handle is Fun
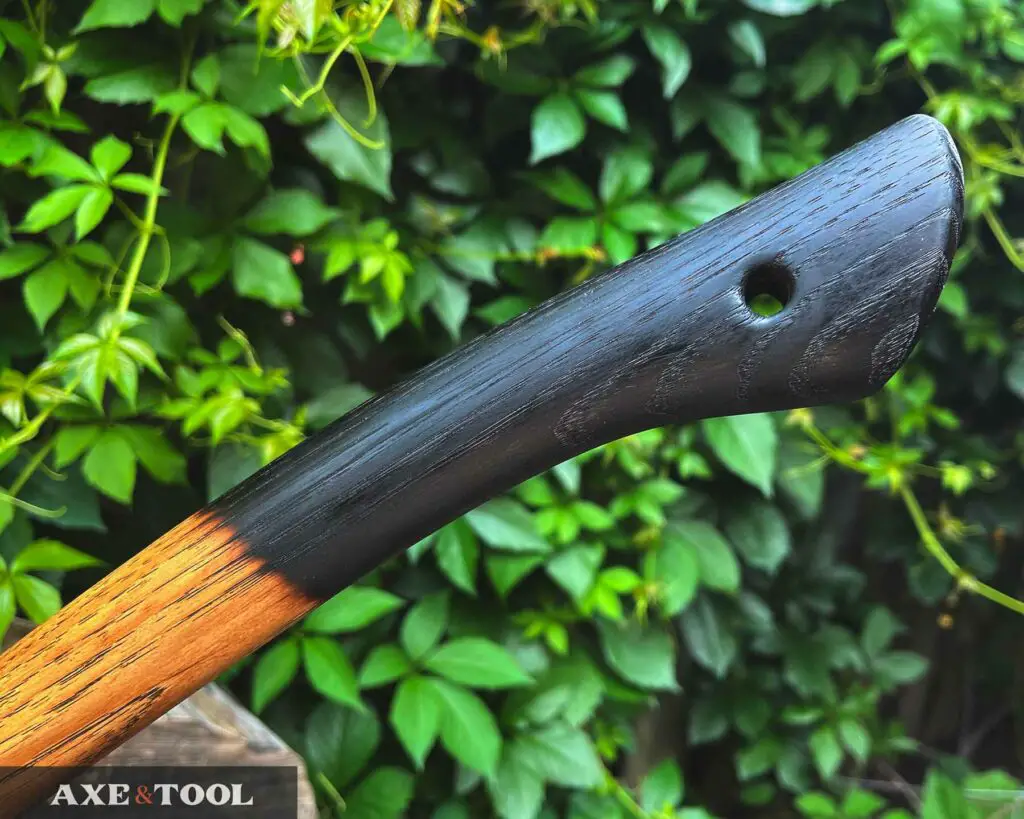
Using fire to char or “fire harden” an axe handle is primarily for aesthetics. Although, it can add a little texture to a handle as well. The heat will pop apart the edges of the grain, giving the handle a bit more tactile feel – while still remaining smooth.
While the look and texture are nice, charring offers no improvement to performance or “hardness”, and was just a marketing gimmick. In fact, if you are more likely to reduce the flexibility and increase brittleness, which would make it perform worse.
It’s debatable how much weakening could come from charring, lots of people do it without issue (including me sometimes). But when I do it, I keep it light or limited to the grip of the handle (like above) to avoid weakening the area that needs to flex in the middle.
Charring should be done before oiling.
It’s best to use a concentrated flame of a blow torch or lighter to quickly char the outside of the handle without “cooking” too deeply into the wood.
It’s pretty easy to char a handle, see full instructions: How to char an axe handle
Stain Your Axe Handle to Give it Some Pop
You can give your axe a unique or rich color very easily with stain.
Simply rub on the stain, let it dry, and buff off any extra residue before oiling the handle. It’s key to stain before oiling as the oil in a handle will interfere with its ability to soak into the wood.
Stain is not a substitute for oil, as it doesn’t offer any protective qualities. So you still need to oil the handle. But, it’s important to know that oiling the stained handle will change the way it looks – usually lightening it.
Boiled linseed oil contains chemicals that will break down the stain and pull it into the wood.
Raw oils will impact the coloration less, but may still pull the stain more into the wood as they soak in.
Never Varnish a Handle
Never, ever.
Varnish is added by some factories to keep handles looking nice on the store shelf, but it is terrible for both the tool and the user.
Varnish will lead to your handle drying out, which can cause it to loosen and crack with time. It is also very hard on your hands while using an axe, and can lead to irritation or even blisters.
When I was starting, I made this mistake more than once. Luckily, it’s easy to remove varnish by scraping it off. For full instructions see my post: How to Remove Handle Varnish.
Paint is Fine in Moderation
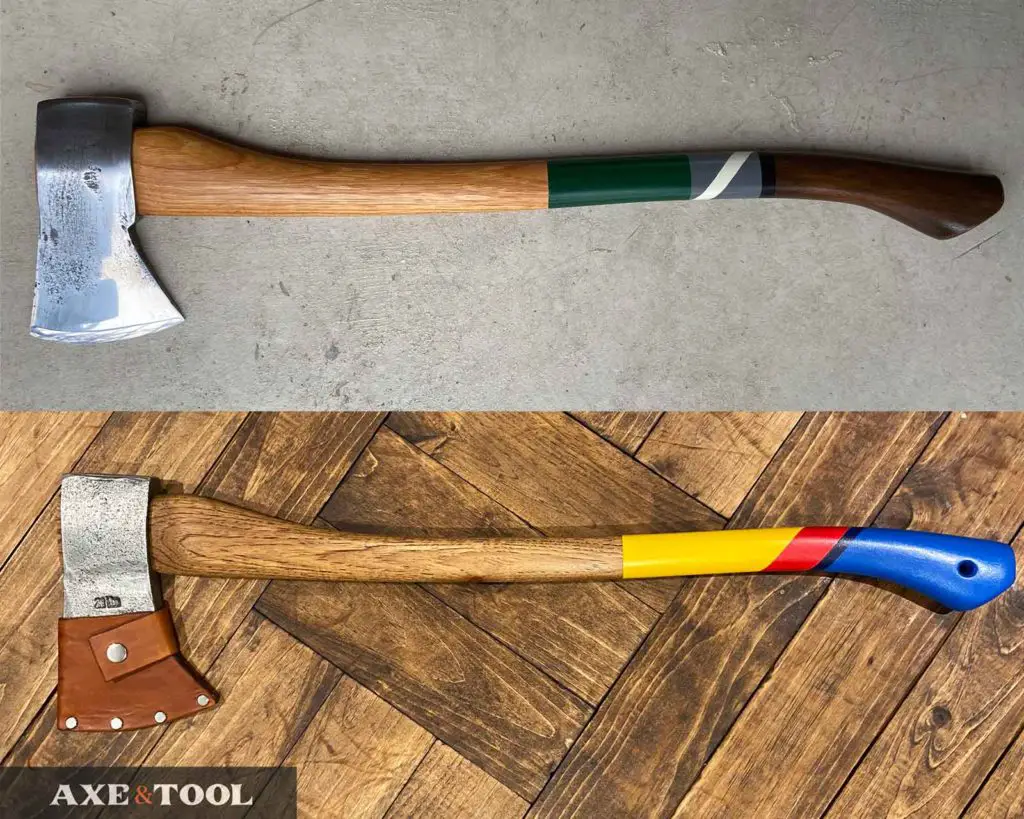
This might surprise you after my hard stance on varnish, but I’m okay with some paint on an axe handle. However, only a small portion of the handle should be painted to allow for continued oiling, and handle maintenance.
Axe handles are painted to make the axe stand out in the forest. This is for safety and to stop you from losing your axe in the brush.
Paints like spray paints will have a hard surface similar to varnish at first but can wear down with use and end up feeling softer and “grippier” in hand (which is actually kind of nice).
There are also “softer” paints like milk paint, or even linseed oil paint that can add color with a more natural feel.
I sometimes like to add paint designs to my handles – if it’s something that interests you I have instructions on How to Paint Custom Axe Handles.
Textured “Safety” Grip is a Pain
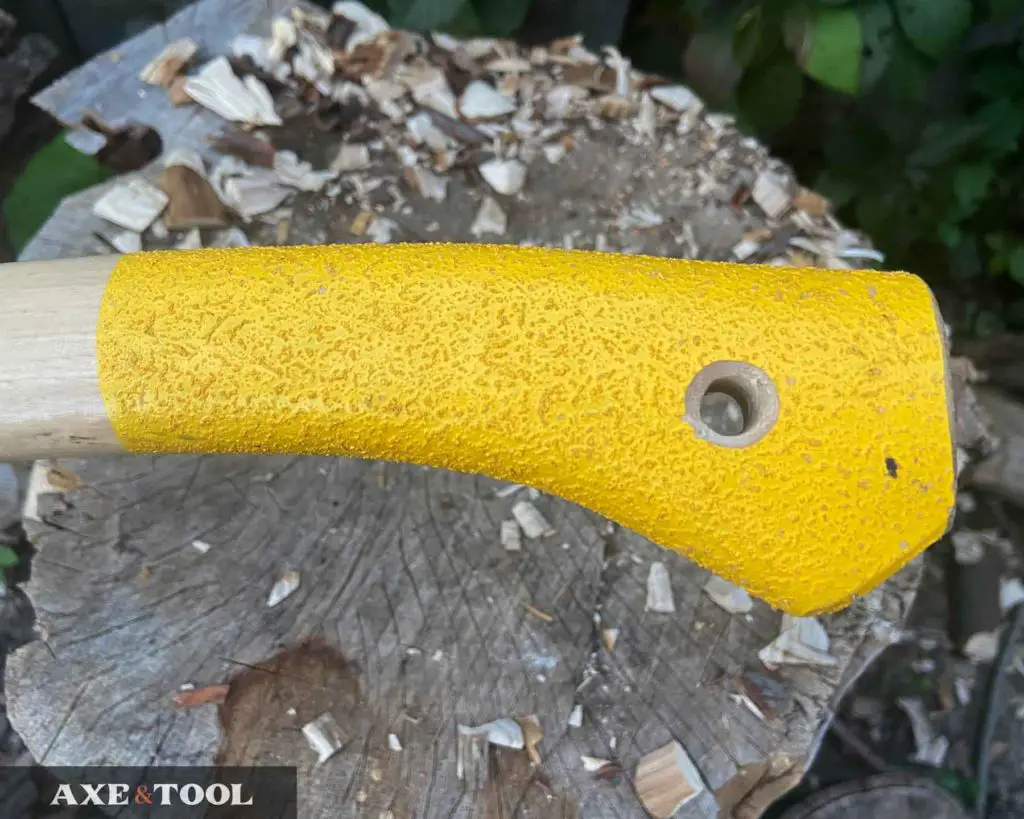
Some modern axes come with textured yellow paint applied to the grip to help lock the axe in your hands. And while it does work, it hurts a lot to use with ungloved hands.
Axes are a striking tool, so all the pointy rough grains get smashed into your palms with each swing – so gloves are a must. It’s fine on an axe if you know what to expect – but I would never add it myself.
Please comment below If I missed something or if you have any questions. I do my best to respond to everyone.
About the author:

About the author:
Jim Bell | Site Creator
I’m just a guy who likes axes. I got tired of only finding crap websites, so I set out to build a better one myself.
I’m also on Instagram: @axeandtool
